 Jacob Tomlinson
This week I’ve been playing around with Kubeflow as part of a larger effort to make it simpler to use Dask and RAPIDS in MLOps workflows.
Kubeflow is a really nice MLOps platform because it can run on just about any Kubernetes deployment and both manages to tie in natively to the Kubernetes API but also provide an excellent web UI for Data Scientists.
In order to develop and test new Dask tools that can work with Kubeflow I needed a local development environment, so I set out to get it running in my preferred Kubernetes dev distribution kind. I also want to try out some GPU workloads so needed to get GPU support running smoothly too.
This blog post is intended more as personal notes than instructions, so take everything with heaps of salt.
Prerequisites
- First you’ll need a linux machine with NVIDIA GPUs in. I have a workstation running Ubuntu 20.04 LTS.
- You’ll need NVIDIA drivers to be installed, I installed mine with
ubuntu-drivers install. I tried this with both the stable and development drivers which are currently470.86and495.46respectively. - You’ll need an up-to-date version of the Docker runtime, mine is
20.10.12. - You’ll want the NVIDIA Container Toolkit.
- You should also install kubectl, kustomize and helm for interacting with our Kubernetes cluster.
If you can run the following example you’re all set.
$ docker run --rm --gpus=all nvcr.io/nvidia/k8s/cuda-sample:vectoradd-cuda10.2
[Vector addition of 50000 elements]
Copy input data from the host memory to the CUDA device
CUDA kernel launch with 196 blocks of 256 threads
Copy output data from the CUDA device to the host memory
Test PASSED
Done
Kind with GPUs
Kind is an awesome tool that lets you quickly create a Kubernetes cluster that exists within a single Docker container with kind create cluster. It also updates your kubeconfig when you create the cluster so you can quickly start using it. You can create multiple clusters on a single machine and deleting them is as simple as running kind delete cluster or even just deleting the container with docker rm -f ....
Sadly today kind doesn’t support passing through GPUs. There is a desire for it to be added but there are disagreements about the right way to implement it. To avoid opening that can of worms I forked kind and quickly hacked some GPU support in there. So you’ll also need my patched version of kind that passes the --gpus=all flag to Docker then creating clusters.
Creating a cluster
Let’s create our kind cluster. We need to create a config YAML file so that we can specify we want to set the gpu flag. Also as of writing KubeFlow doesn’t support Kubernetes >1.21 so we need to manually set our Kubernetes version.
# kind-gpu.yaml
kind: Cluster
apiVersion: kind.x-k8s.io/v1alpha4
name: kubeflow-gpu
nodes:
  - role: control-plane
    image: kindest/node:v1.21.2
    gpus: True
Now we can create our cluster.
$ kind create cluster --config kind-gpu.yaml
Creating cluster "kubeflow-gpu" ...
 ✓ Ensuring node image (kindest/node:v1.21.2) 🖼
 ✓ Preparing nodes 📦
 ✓ Writing configuration 📜
 ✓ Starting control-plane 🕹️
 ✓ Installing CNI 🔌
 ✓ Installing StorageClass 💾
Set kubectl context to "kind-kubeflow-gpu"
You can now use your cluster with:

kubectl cluster-info --context kind-kubeflow-gpu

Thanks for using kind! 😊
I also like to use the kubectx command to set the default context to our new cluster.
$ kubectx kind-kubeflow-gpu
Making our cluster GPU aware
Next we need to install the NVIDIA operator via helm. This will add the device plugins to the Kuberenetes API so it can detect GPUs and schedule them.
We want to avoid the operator trying to install drivers though as we already did that so we need to disable driver installs.
$ helm repo add nvidia https://nvidia.github.io/gpu-operator \
  && helm repo update

$ helm install --wait --generate-name \
  -n gpu-operator --create-namespace \
  nvidia/gpu-operator \
  --set driver.enabled=false
Installing Kubeflow
Now we have our foundation we need to install Kubeflow on top. We can do that by cloning the Kubeflow manifests repo and installing them.
$ git clone https://github.com/kubeflow/manifests.git

$ cd manifests

$ while ! kustomize build example | kubectl apply -f -; do echo "Retrying to apply resources"; sleep 10; done
This may take a while as there are many components to be created.
Once this finishes we also need to patch the Kubeflow Pipelines service to not use Docker, otherwise our pipelines will get stuck and report Docker socket errors. This happens because despite us using Docker the Docker docket isn’t made available inside the kind cluster. So from Kubeflow’s perspective we are using containerd directly instead of Docker.
$ kustomize build apps/pipeline/upstream/env/platform-agnostic-multi-user-pns | kubectl apply -f -
Now we wait for Kubeflow to bootstrap itself on our cluster. We can keep an eye on its progress with kubectl. At first you will see many containers in Init or ContainerCreating phases.
$ kubectl get po -A
NAMESPACE            NAME                                                              READY   STATUS              RESTARTS   AGE
auth                 dex-5ddf47d88d-5lth2                                              1/1     Running             1          80s
cert-manager         cert-manager-7dd5854bb4-txtg6                                     1/1     Running             0          80s
cert-manager         cert-manager-cainjector-64c949654c-rd6z7                          1/1     Running             0          80s
cert-manager         cert-manager-webhook-6b57b9b886-4974x                             1/1     Running             0          80s
gpu-operator         gpu-feature-discovery-nsjh5                                       1/1     Running             0          31m
gpu-operator         gpu-operator-1643298523-node-feature-discovery-master-79b44qx29   1/1     Running             0          31m
gpu-operator         gpu-operator-1643298523-node-feature-discovery-worker-wgfz5       1/1     Running             0          31m
gpu-operator         gpu-operator-84b88fc49c-7llx4                                     1/1     Running             0          31m
gpu-operator         nvidia-container-toolkit-daemonset-prgtk                          1/1     Running             0          31m
gpu-operator         nvidia-cuda-validator-rlt6h                                       0/1     Completed           0          30m
gpu-operator         nvidia-dcgm-exporter-rzxd4                                        0/1     CrashLoopBackOff    10         31m
gpu-operator         nvidia-device-plugin-daemonset-4w6dp                              1/1     Running             0          31m
gpu-operator         nvidia-device-plugin-validator-8sjm2                              0/1     Completed           0          30m
gpu-operator         nvidia-operator-validator-9x275                                   1/1     Running             0          31m
istio-system         authservice-0                                                     1/1     Running             0          79s
istio-system         cluster-local-gateway-75cb7c6c88-l9j4g                            0/1     ContainerCreating   0          80s
istio-system         istio-ingressgateway-79b665c95-9477l                              0/1     ContainerCreating   0          80s
istio-system         istiod-86457659bb-rp6pb                                           1/1     Running             0          80s
knative-eventing     eventing-controller-79895f9c56-5czjf                              1/1     Running             0          80s
knative-eventing     eventing-webhook-78f897666-l8k8z                                  1/1     Running             0          79s
knative-eventing     imc-controller-688df5bdb4-pzw42                                   1/1     Running             0          79s
knative-eventing     imc-dispatcher-646978d797-vwxvc                                   1/1     Running             0          79s
knative-eventing     mt-broker-controller-67c977497-7dtsf                              1/1     Running             0          79s
knative-eventing     mt-broker-filter-66d4d77c8b-qhchx                                 1/1     Running             0          78s
knative-eventing     mt-broker-ingress-5c8dc4b5d7-rdpdf                                1/1     Running             0          78s
knative-serving      activator-7476cc56d4-m5t9d                                        0/2     Init:0/1            0          57s
knative-serving      autoscaler-5c648f7465-2ddr7                                       0/2     Init:0/1            0          56s
knative-serving      controller-57c545cbfb-vdmz4                                       0/2     Init:0/1            0          55s
knative-serving      istio-webhook-578b6b7654-vtssc                                    0/2     Init:0/1            0          54s
knative-serving      networking-istio-6b88f745c-t7q8h                                  0/2     Init:0/1            0          54s
knative-serving      webhook-6fffdc4d78-dxghv                                          0/2     PodInitializing     0          58s
kube-system          coredns-558bd4d5db-dp79r                                          1/1     Running             0          34m
kube-system          coredns-558bd4d5db-gmdzs                                          1/1     Running             0          34m
kube-system          etcd-kubeflow-gpu-control-plane                                   1/1     Running             0          34m
kube-system          kindnet-bth4p                                                     1/1     Running             0          34m
kube-system          kube-apiserver-kubeflow-gpu-control-plane                         1/1     Running             0          34m
kube-system          kube-controller-manager-kubeflow-gpu-control-plane                1/1     Running             0          34m
kube-system          kube-proxy-k77zt                                                  1/1     Running             0          34m
kube-system          kube-scheduler-kubeflow-gpu-control-plane                         1/1     Running             0          34m
kubeflow             admission-webhook-deployment-667bd68d94-c7xw6                     0/1     ContainerCreating   0          58s
kubeflow             cache-deployer-deployment-79fdf9c5c9-zcv6g                        0/2     Init:0/1            0          57s
kubeflow             cache-server-6566dc7dbf-8lklp                                     0/2     Init:0/1            0          56s
kubeflow             centraldashboard-8fc7d8cc-qv7vd                                   0/1     ContainerCreating   0          55s
kubeflow             jupyter-web-app-deployment-84c459d4cd-zr9r9                       0/1     ContainerCreating   0          54s
kubeflow             katib-controller-68c47fbf8b-pnm5g                                 0/1     ContainerCreating   0          58s
kubeflow             katib-db-manager-6c948b6b76-t85b4                                 0/1     ContainerCreating   0          57s
kubeflow             katib-mysql-7894994f88-8kfcm                                      0/1     ContainerCreating   0          57s
kubeflow             katib-ui-64bb96d5bf-dhcnz                                         0/1     ContainerCreating   0          56s
kubeflow             kfserving-controller-manager-0                                    0/2     ContainerCreating   0          79s
kubeflow             kfserving-models-web-app-5d6cd6b5dd-fzpc4                         0/2     Init:0/1            0          56s
kubeflow             kubeflow-pipelines-profile-controller-69596b78cc-5lm8b            0/1     ContainerCreating   0          55s
kubeflow             metacontroller-0                                                  1/1     Running             0          79s
kubeflow             metadata-envoy-deployment-5b4856dd5-7s8gt                         1/1     Running             0          59s
kubeflow             metadata-grpc-deployment-6b5685488-s8n6n                          0/2     PodInitializing     0          58s
kubeflow             metadata-writer-548bd879bb-wv4jt                                  0/2     PodInitializing     0          58s
kubeflow             minio-5b65df66c9-2xgvd                                            0/2     Init:0/1            0          57s
kubeflow             ml-pipeline-847f9d7f78-5lhnq                                      0/2     Init:0/1            0          57s
kubeflow             ml-pipeline-persistenceagent-d6bdc77bd-m46hh                      0/2     Init:0/1            0          57s
kubeflow             ml-pipeline-scheduledworkflow-5db54d75c5-nvxcb                    0/2     Init:0/1            0          56s
kubeflow             ml-pipeline-ui-5bd8d6dc84-2cppz                                   0/2     Init:0/1            0          55s
kubeflow             ml-pipeline-viewer-crd-68fb5f4d58-slhsm                           0/2     Init:0/1            0          55s
kubeflow             ml-pipeline-visualizationserver-8476b5c645-hwrwl                  0/2     Init:0/1            0          55s
kubeflow             mpi-operator-5c55d6cb8f-pc6pd                                     1/1     Running             0          58s
kubeflow             mysql-f7b9b7dd4-tr9md                                             0/2     Init:0/1            0          58s
kubeflow             notebook-controller-deployment-6b75d45f48-kjb7v                   1/1     Running             0          58s
kubeflow             profiles-deployment-58d7c94845-tfsdq                              0/2     ContainerCreating   0          58s
kubeflow             tensorboard-controller-controller-manager-775777c4c5-nc8rl        0/3     Init:0/1            0          57s
kubeflow             tensorboards-web-app-deployment-6ff79b7f44-tn2sm                  0/1     ContainerCreating   0          56s
kubeflow             training-operator-7d98f9dd88-lbttd                                0/1     ContainerCreating   0          56s
kubeflow             volumes-web-app-deployment-8589d664cc-tn2kt                       0/1     ContainerCreating   0          56s
kubeflow             workflow-controller-5cbbb49bd8-d5gvc                              0/2     Init:0/1            0          56s
local-path-storage   local-path-provisioner-85494db59d-4tfd9                           1/1     Running             0          34m
Accessing Kubeflow
Once our pods are in a Running state we should be able to port forward the Kubeflow web UI and access it in our browser.
$ kubectl port-forward svc/istio-ingressgateway -n istio-system 8080:80
Forwarding from 127.0.0.1:8080 -> 8080
Forwarding from [::1]:8080 -> 8080
You can then open your browser and navigate to 127.0.0.1:8080 and login with the default credentials user@example.com and 12341234.
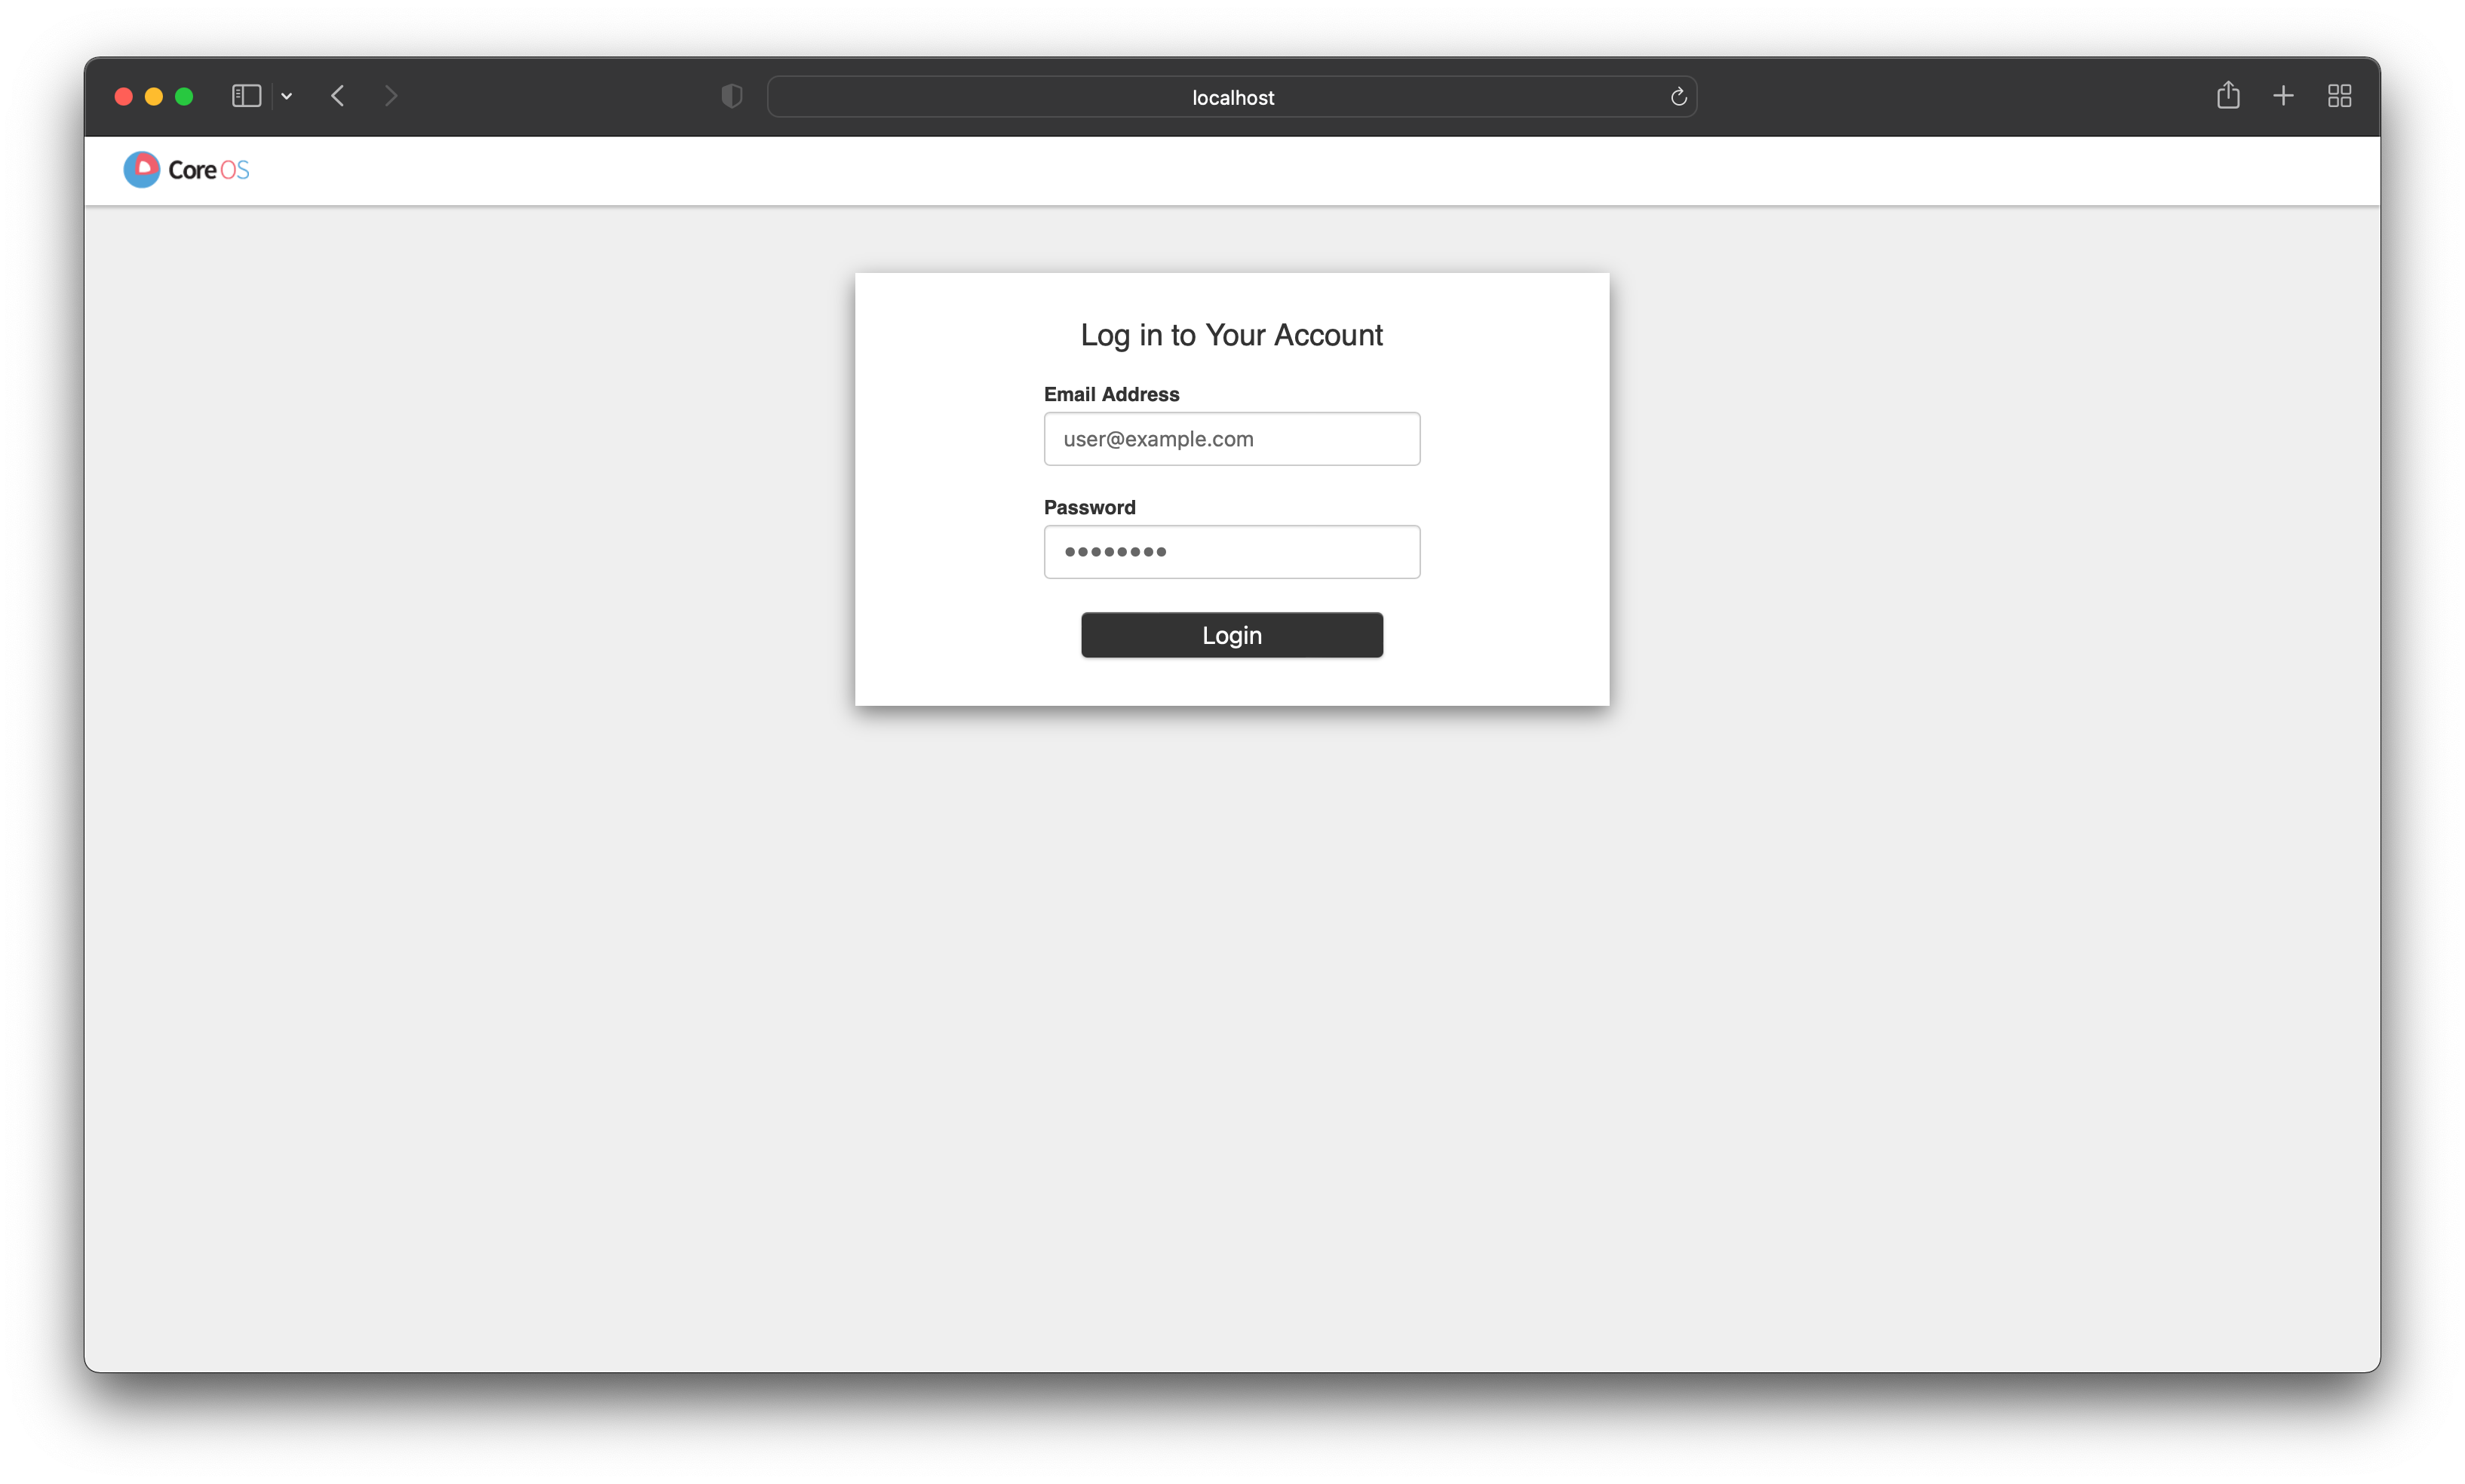
Wooo we are in!
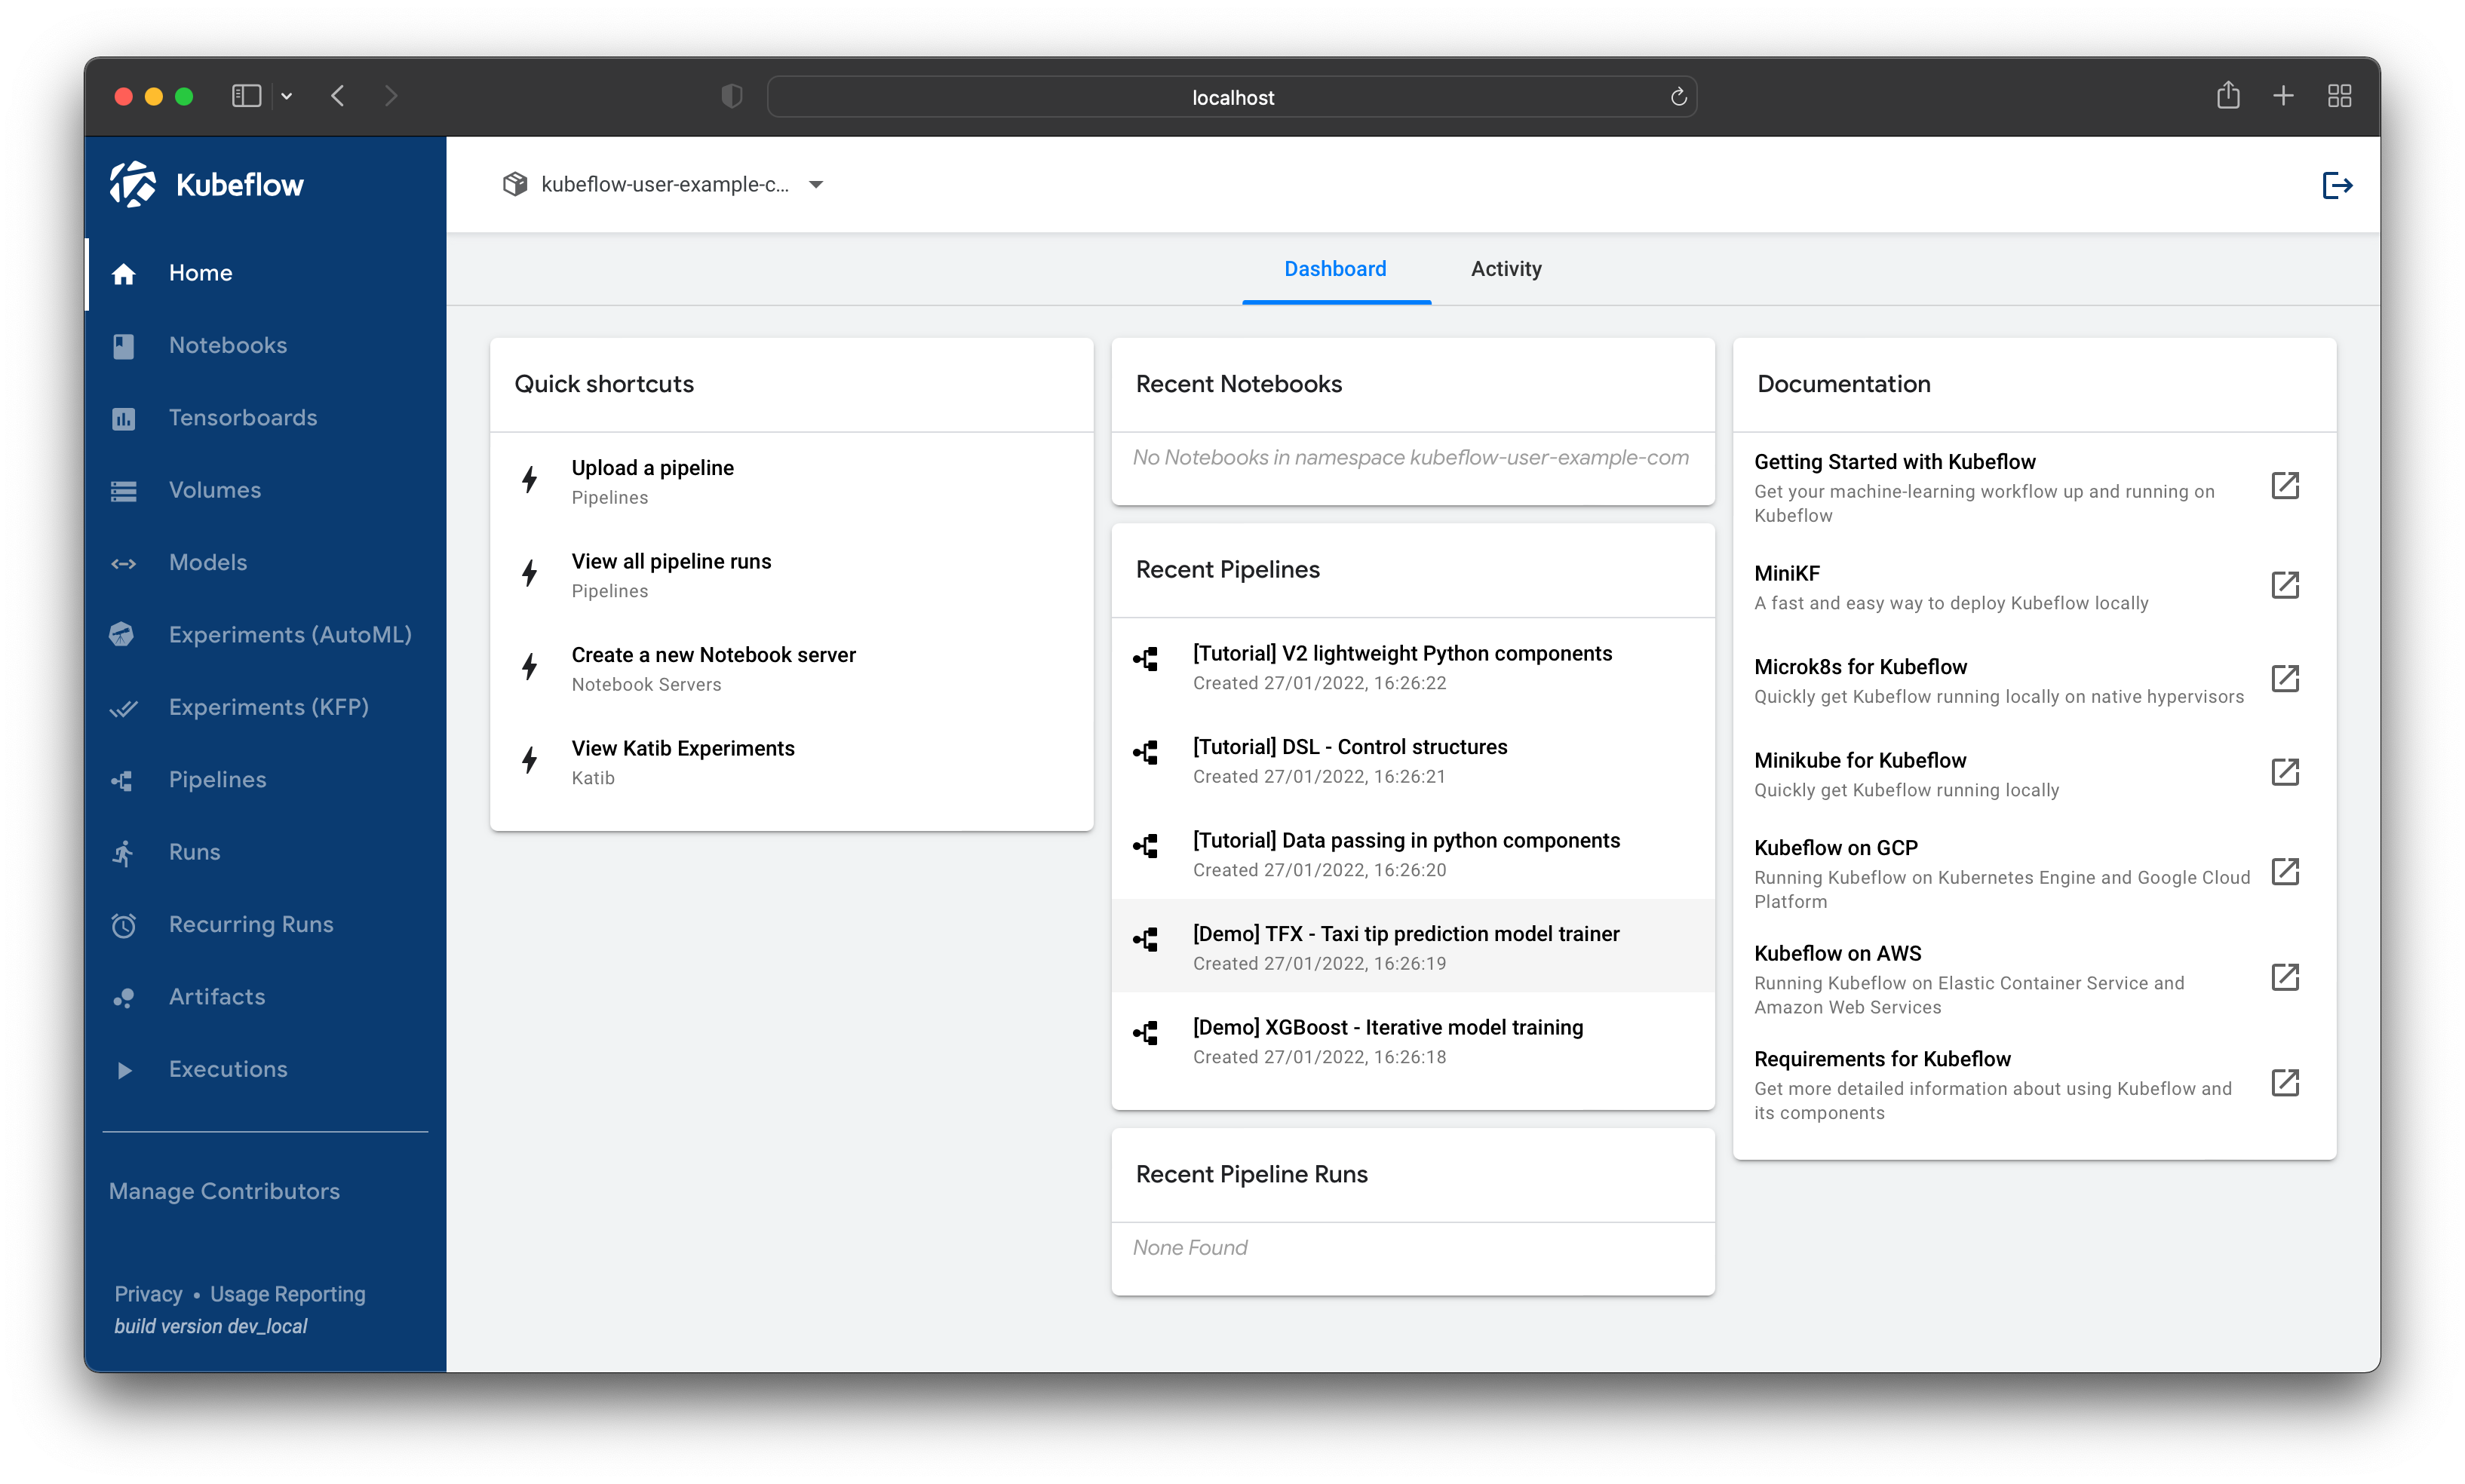
Testing our GPUs
Now let’s check our GPUs are accessible and working.
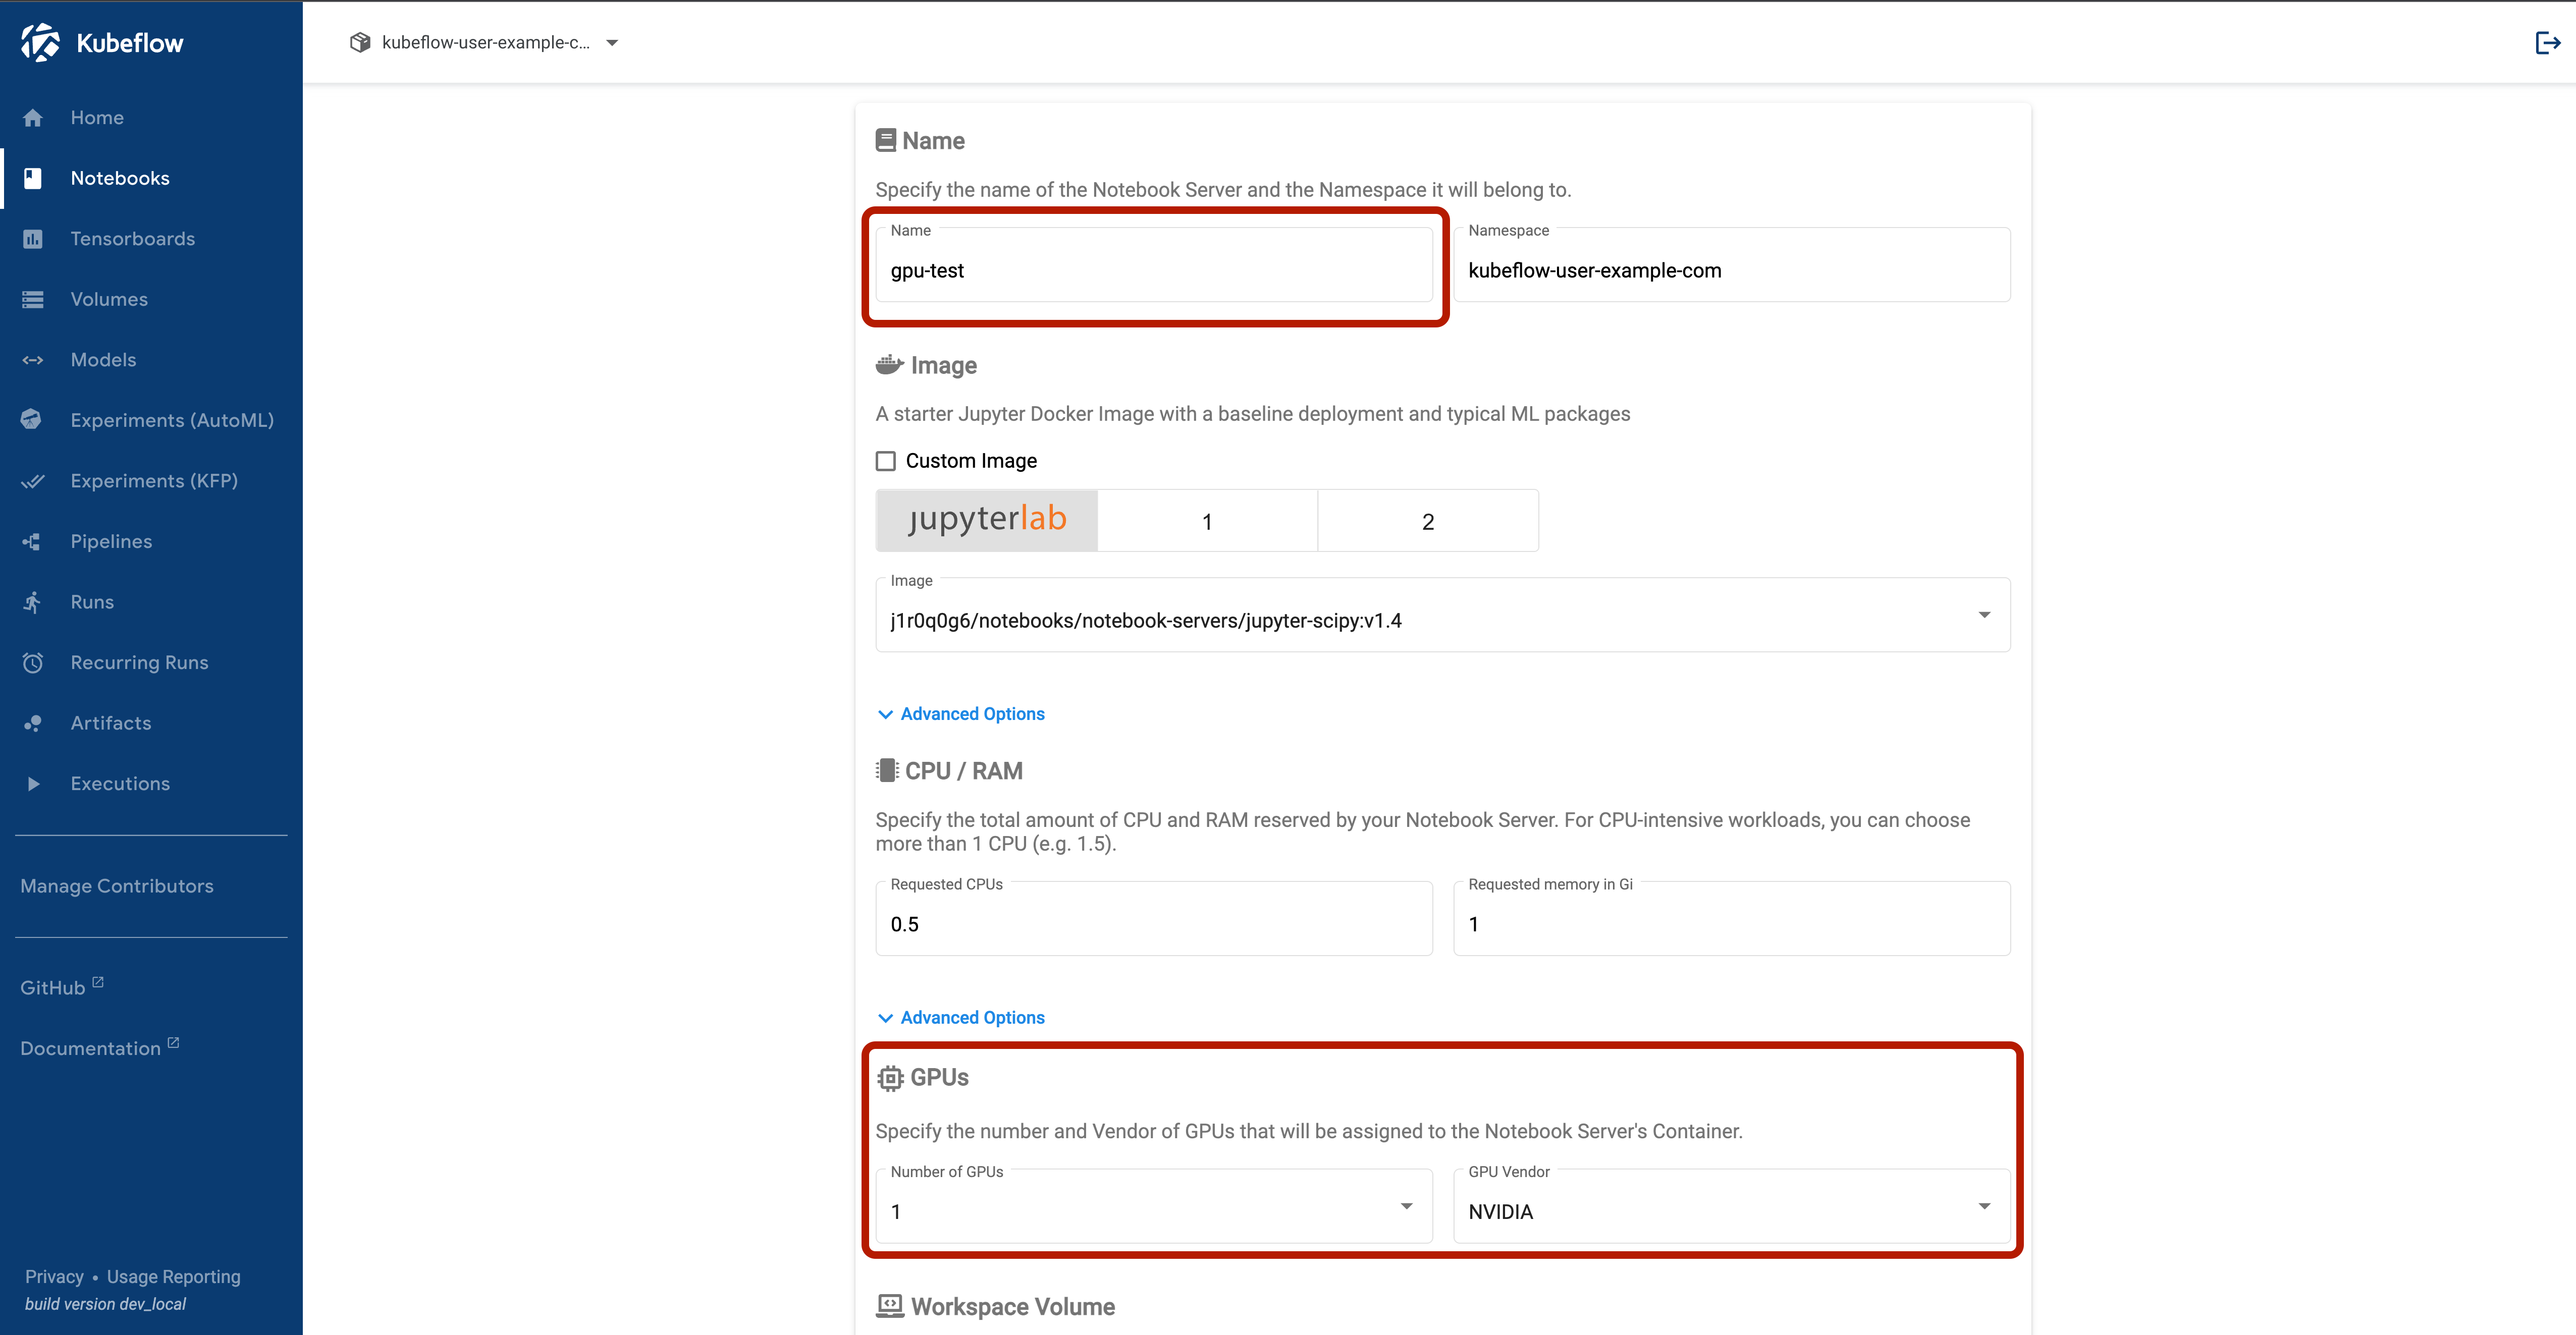
Notebooks with GPUs
We can start by heading to the Notebooks section and creating a new Jupyter session. Give your notebook a name and select one GPU, leave everything else as the default.
It’ll take a little while to pull the image but then we should see the green check appear.
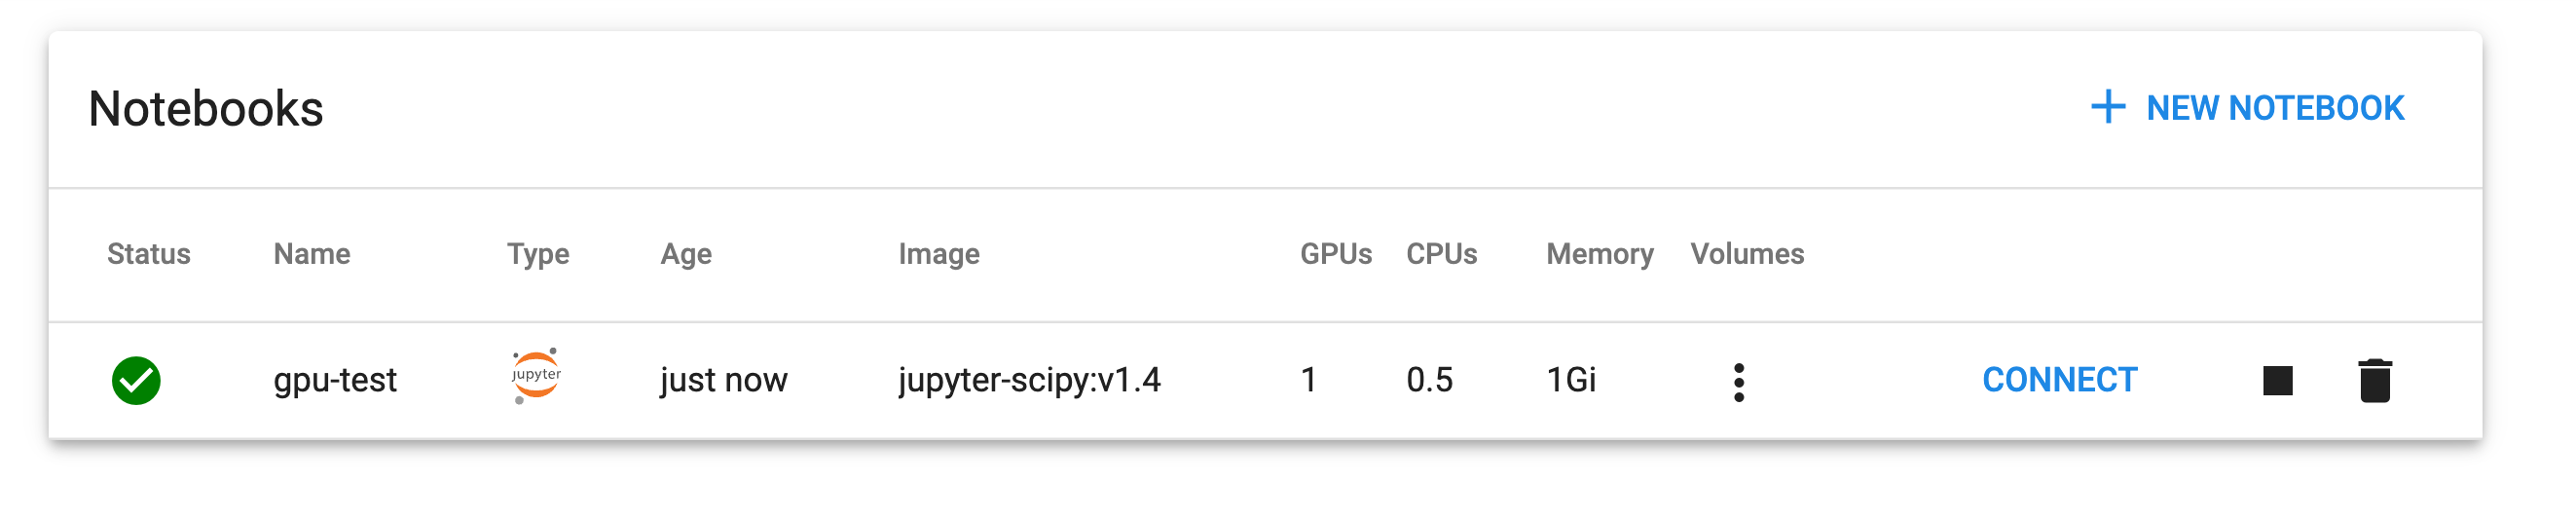
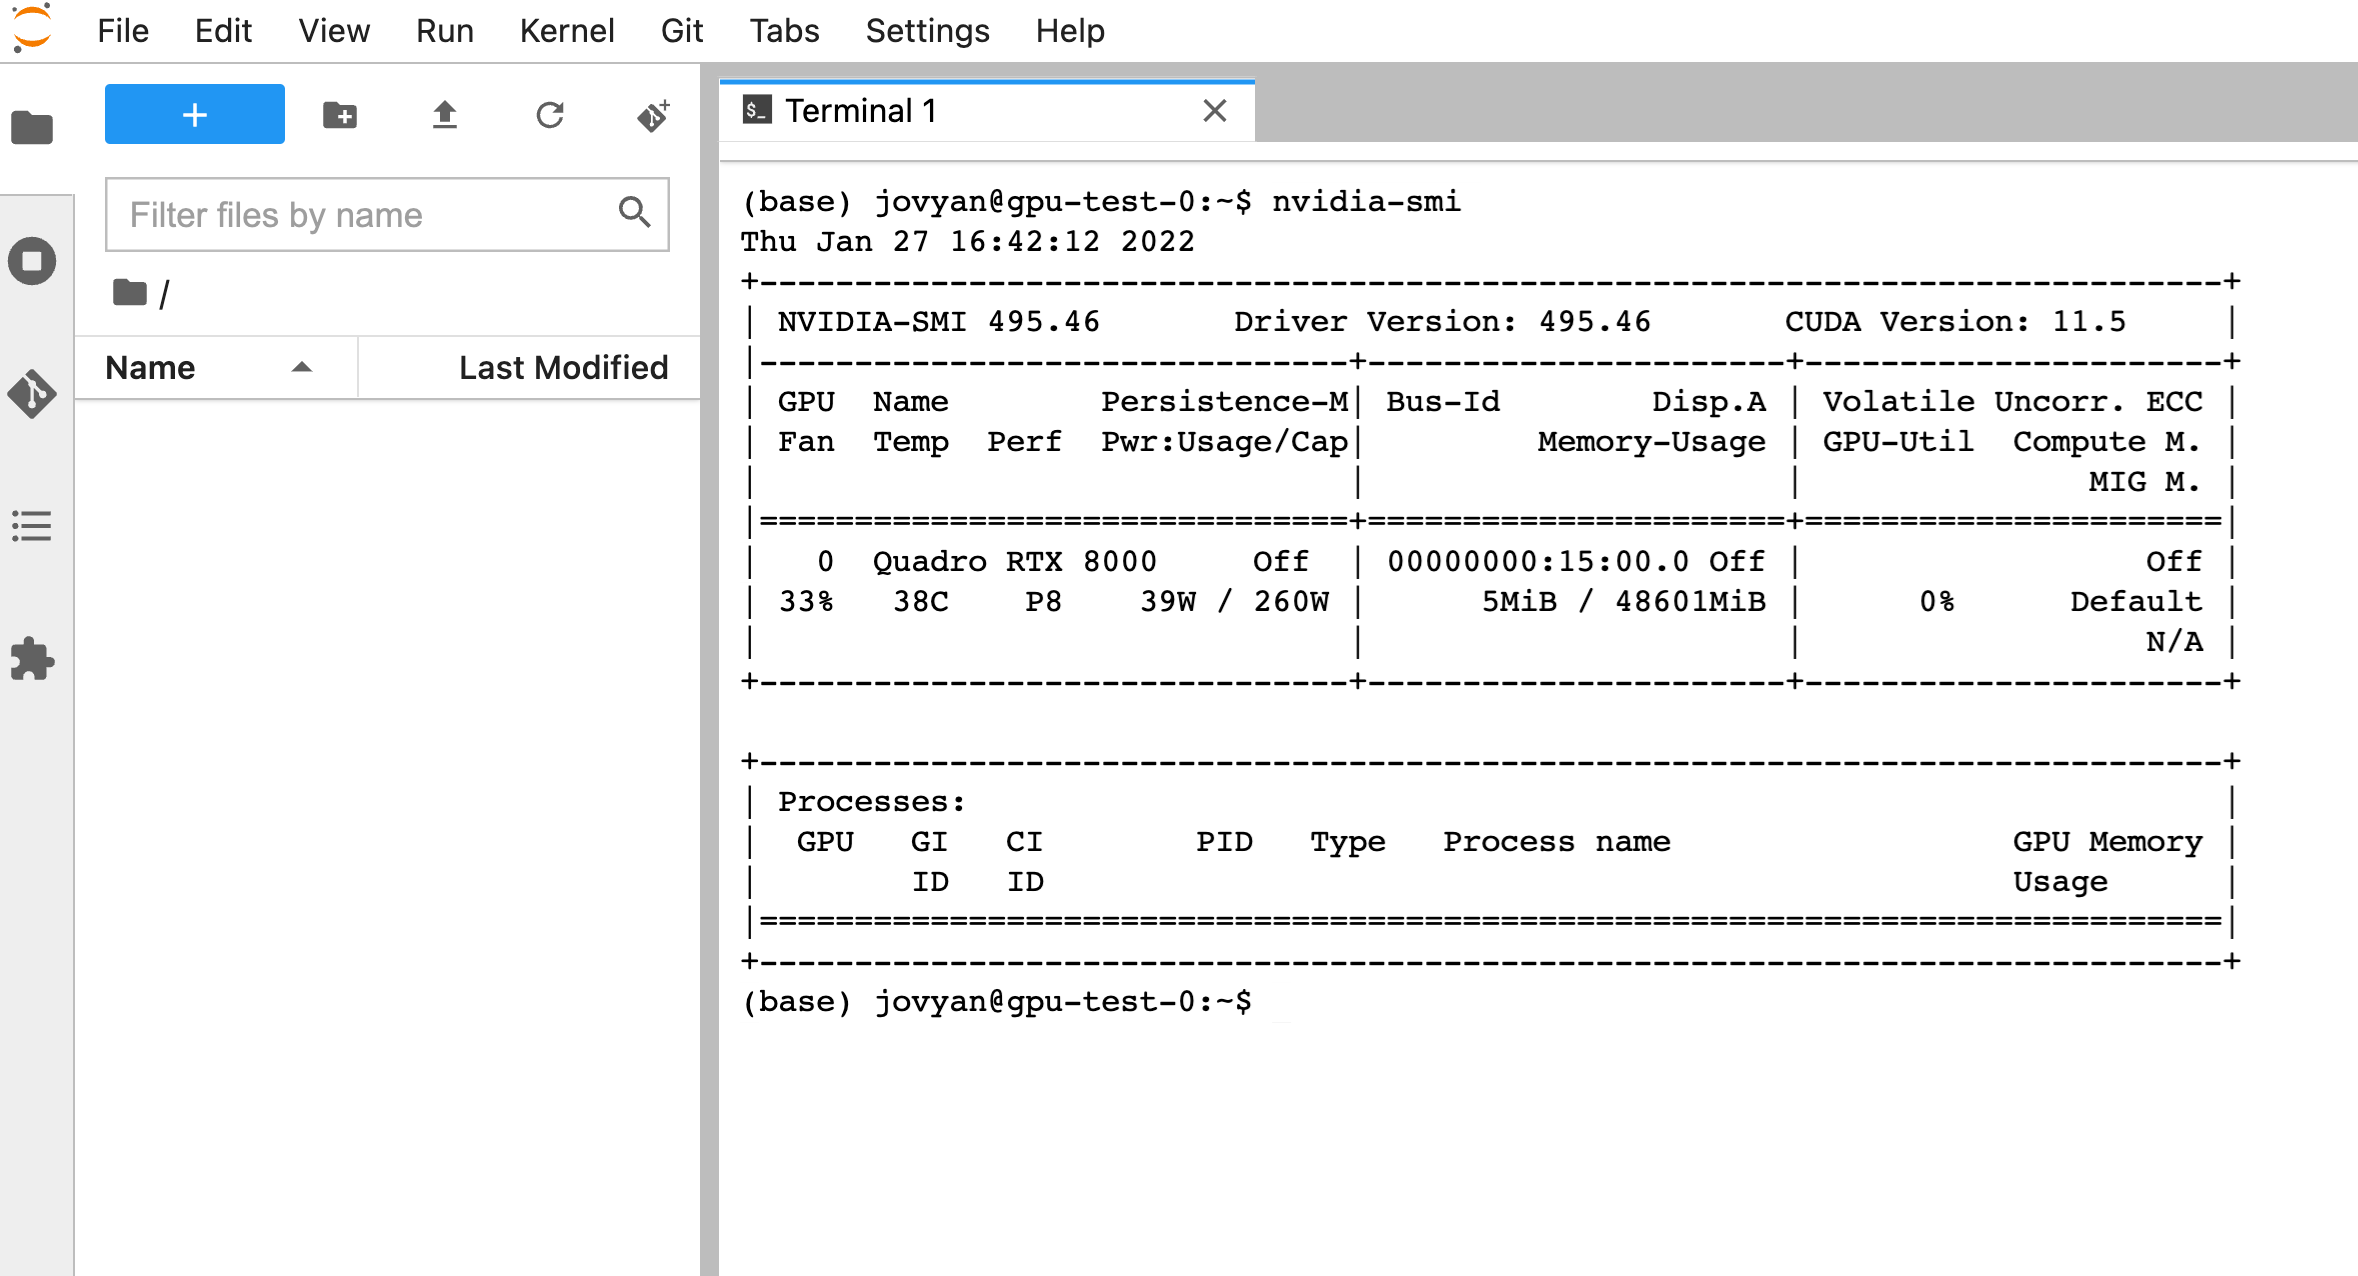
We should be able to hit Connect to open up Jupyter Lab and run nvidia-smi in a terminal to check our GPU is available.
Pipelines with GPUs
We can also create a quick pipeline that runs our test container from earlier to ensure that we can schedule GPUs in our pipelines too.
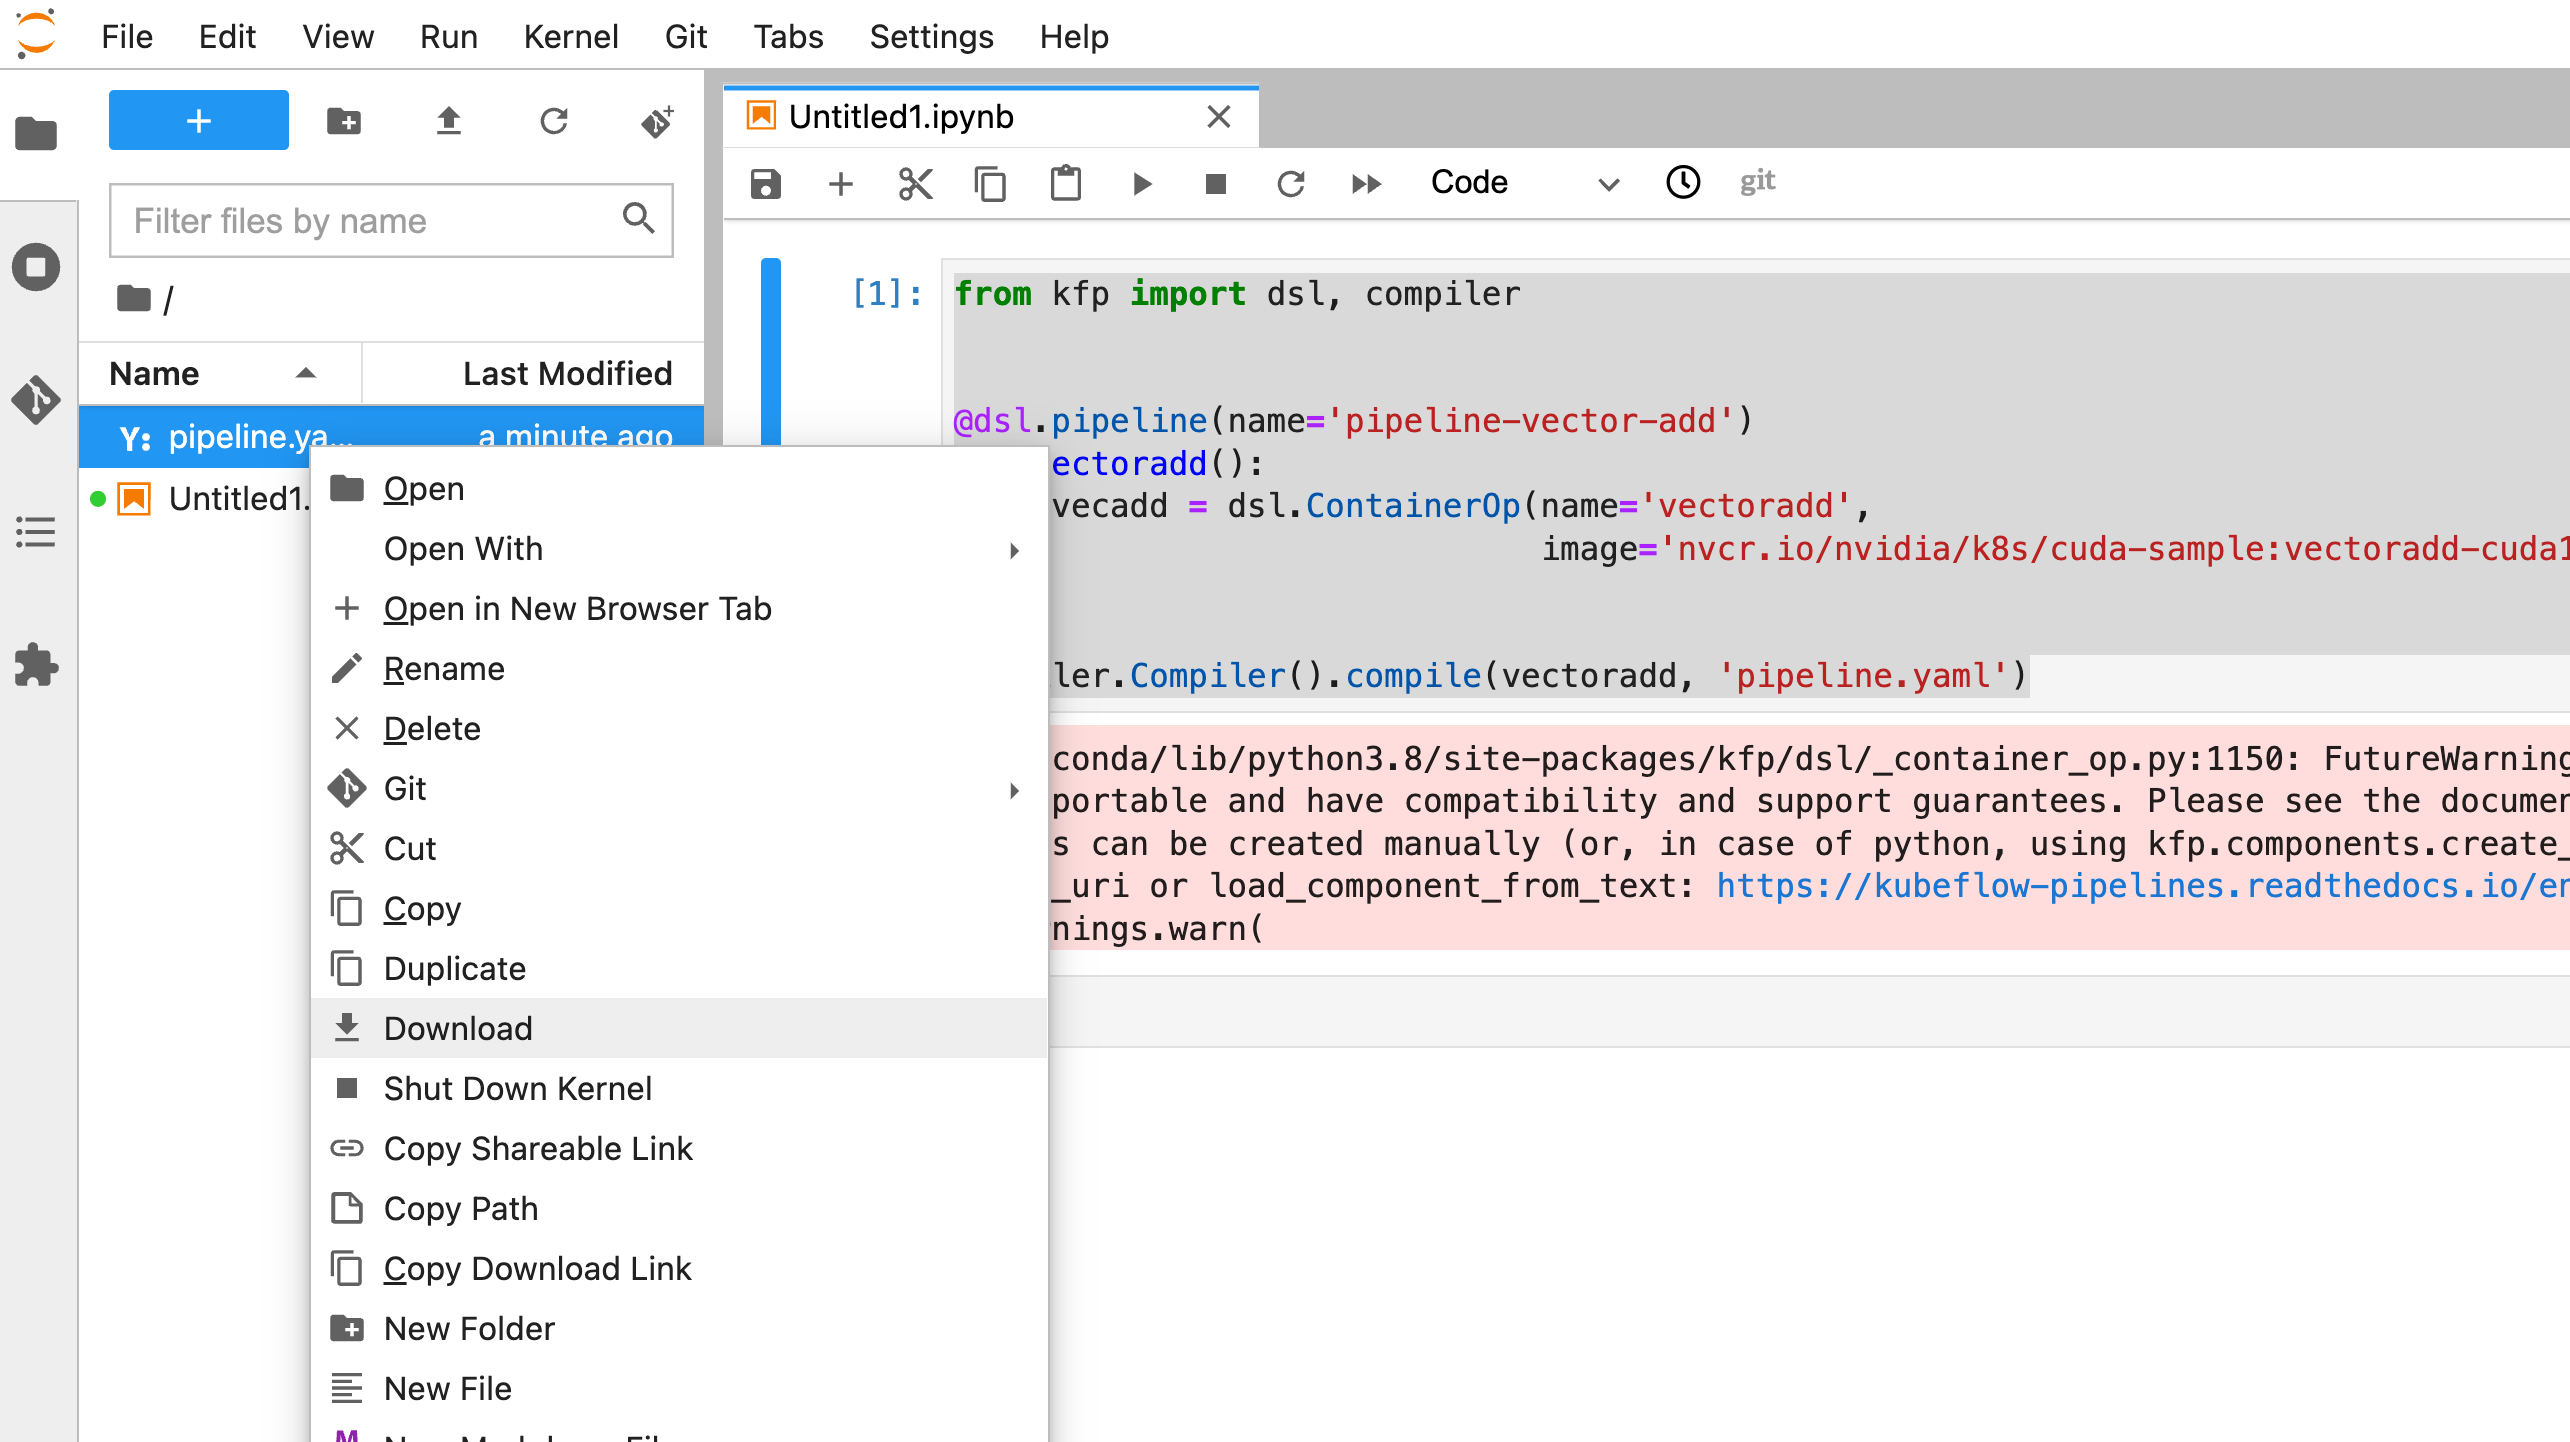
In your Jupyter server run the following code to generate a pipeline.yaml file that we can upload to the web UI.
from kfp import dsl, compiler


@dsl.pipeline(name='pipeline-vector-add')
def vectoradd():
     vecadd = dsl.ContainerOp(name='vectoradd',
                              image='nvcr.io/nvidia/k8s/cuda-sample:vectoradd-cuda10.2').set_gpu_limit(1, 'nvidia')


compiler.Compiler().compile(vectoradd, 'pipeline.yaml')
Then download the pipeline.yaml file.
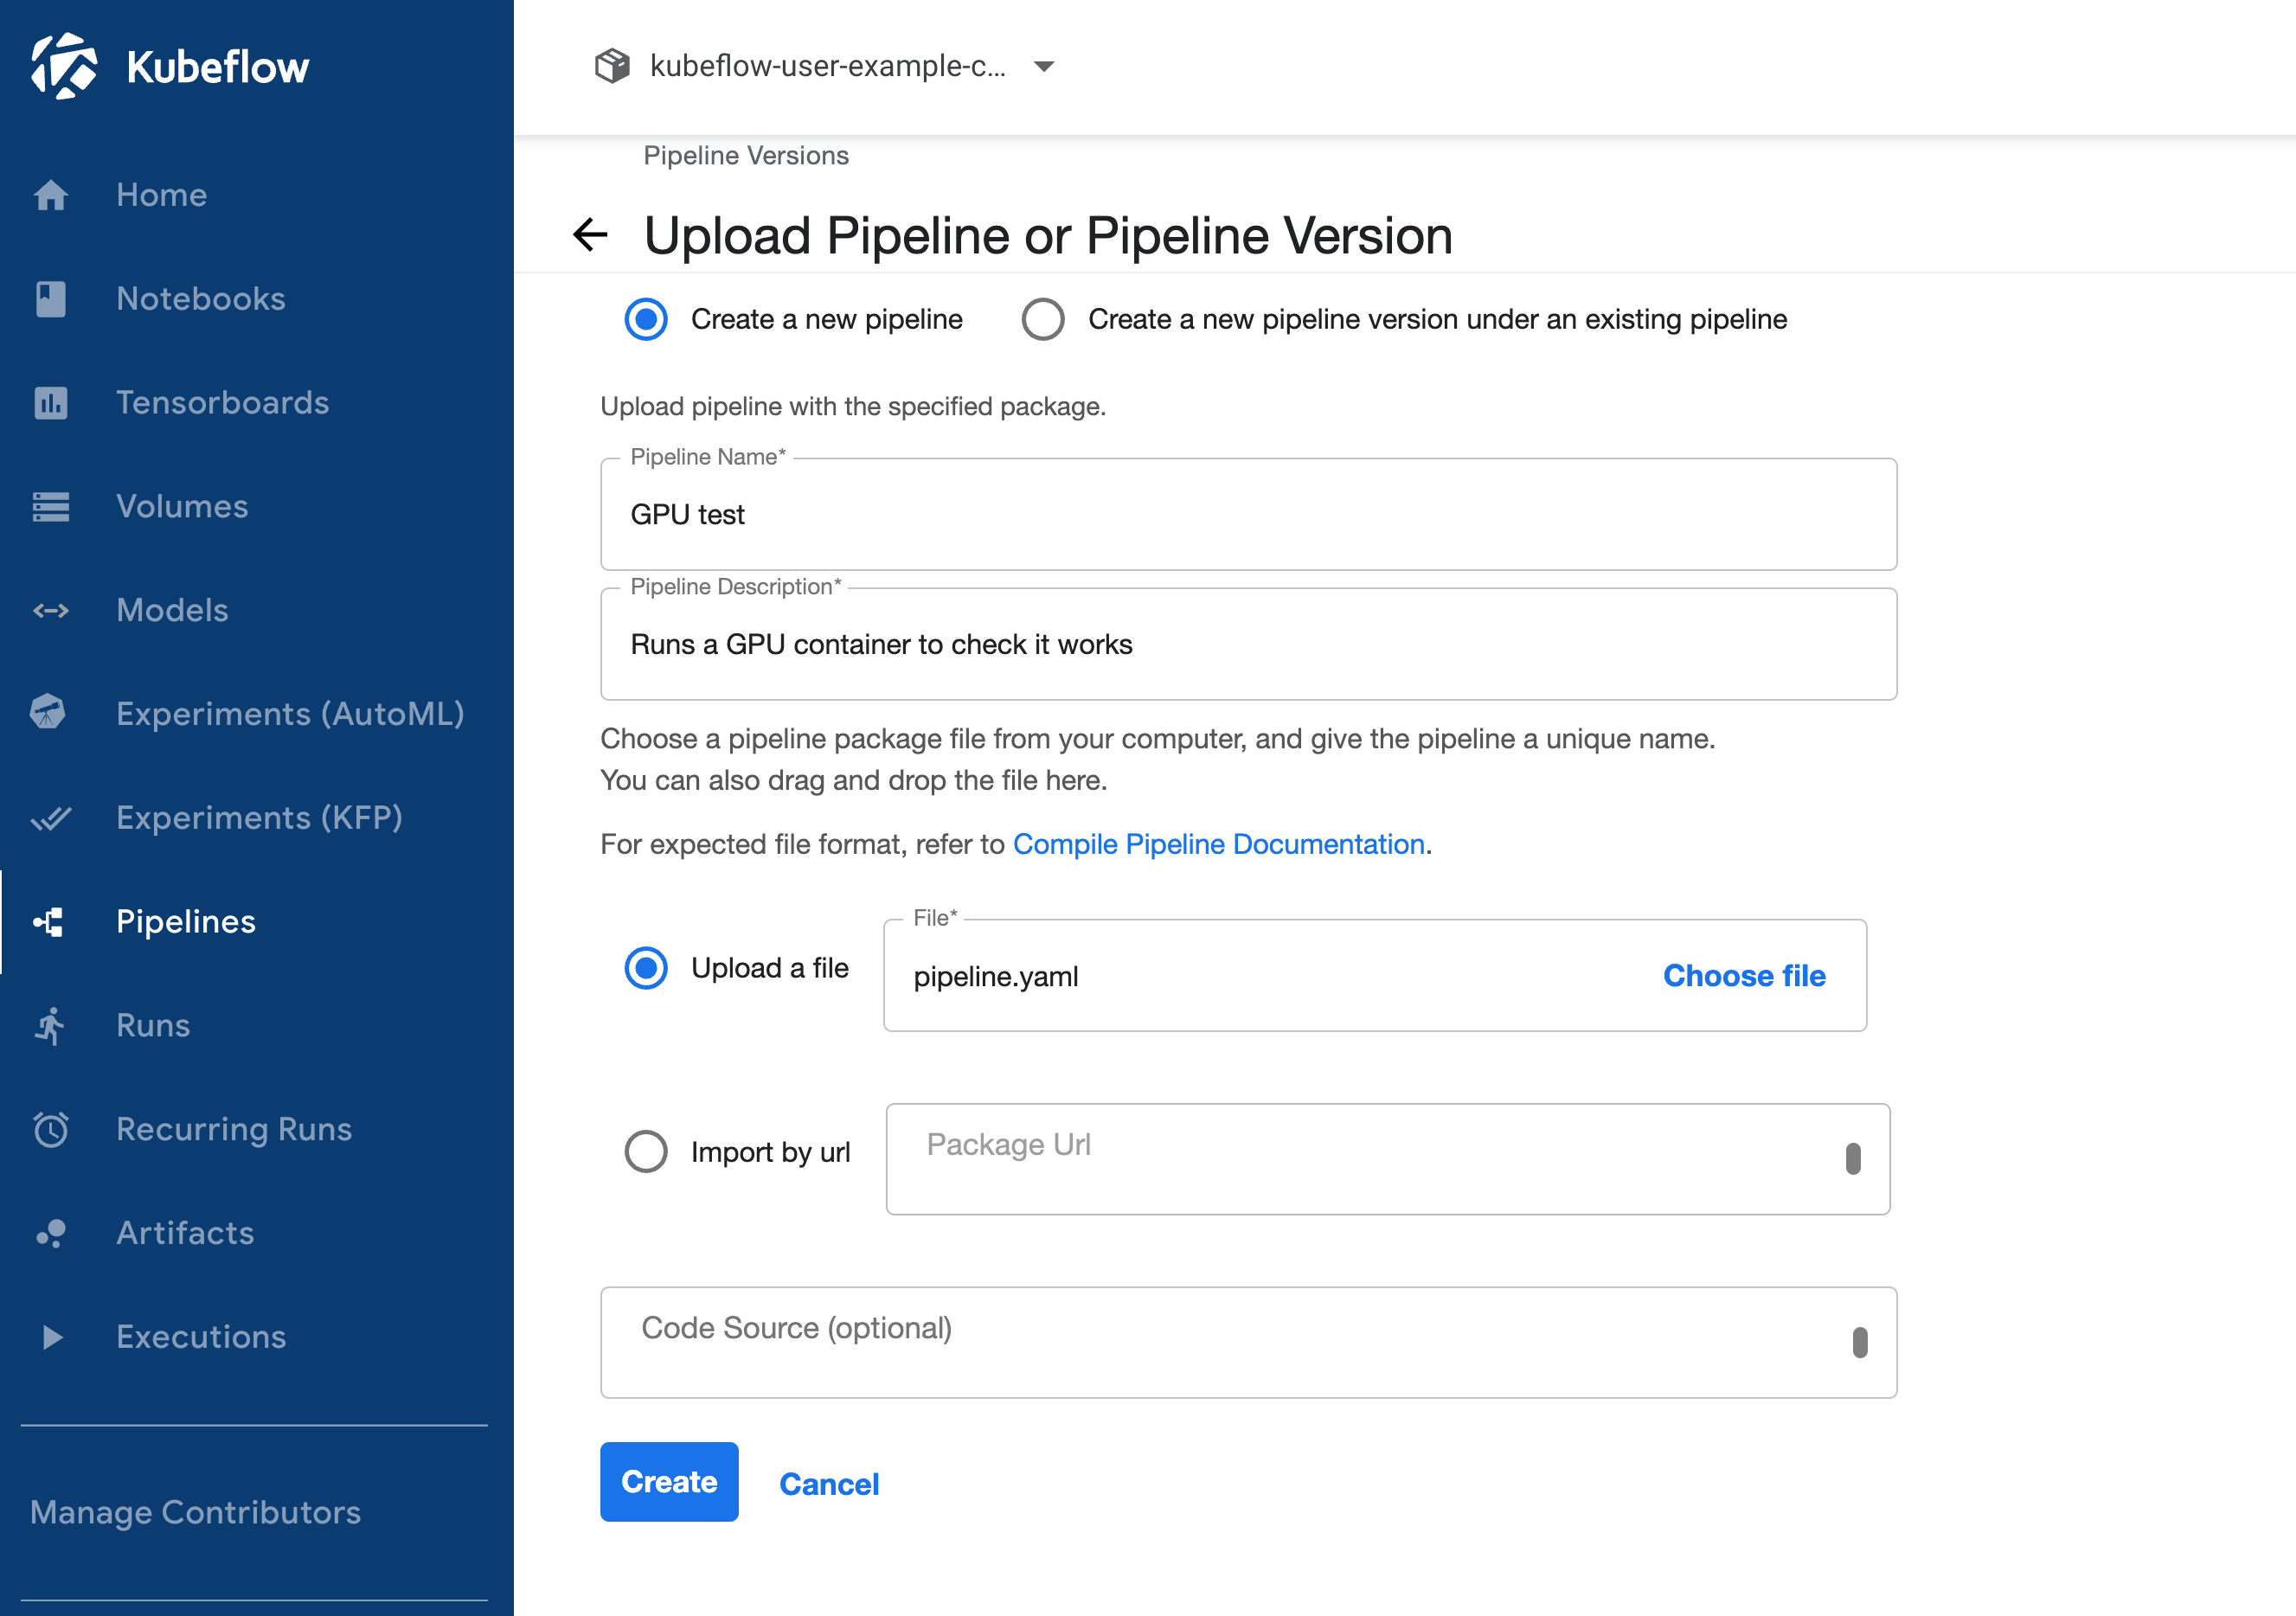
Now back in the Kubeflow UI we can head to the Pipelines section and click Upload pipeline.
Upload your file and fill in the name and description.
Then click Create experiment and create an experiment for us to run our pipeline under.
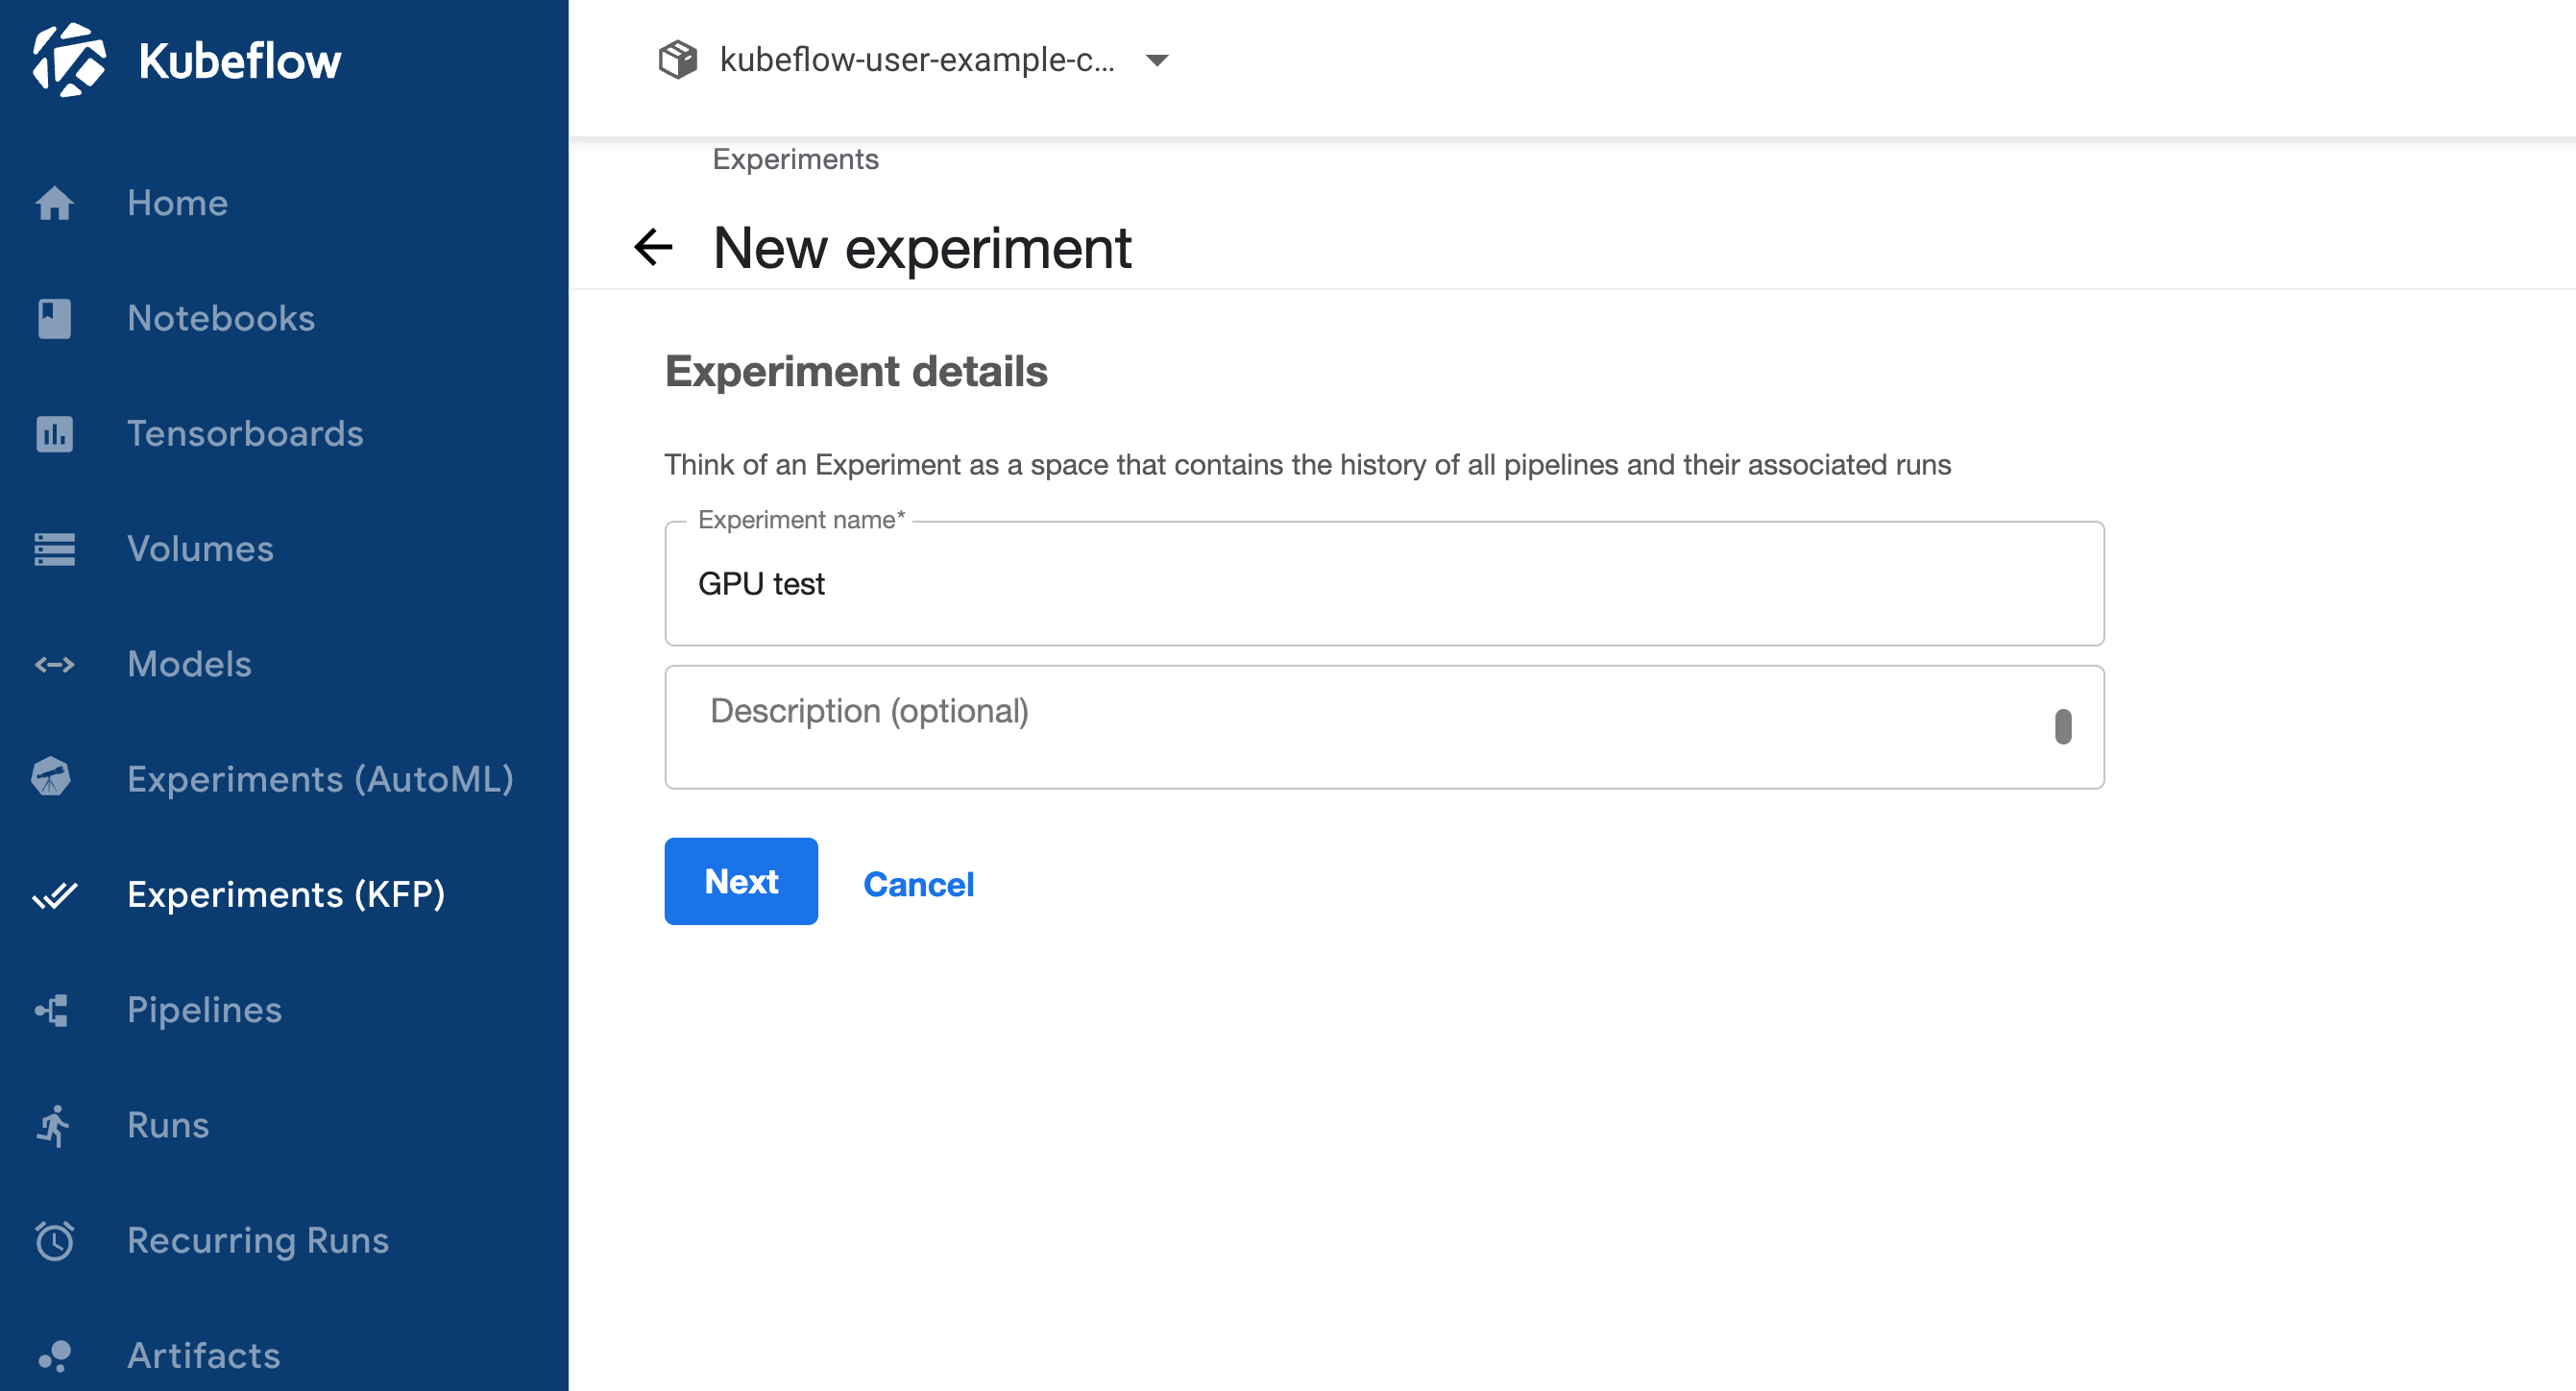
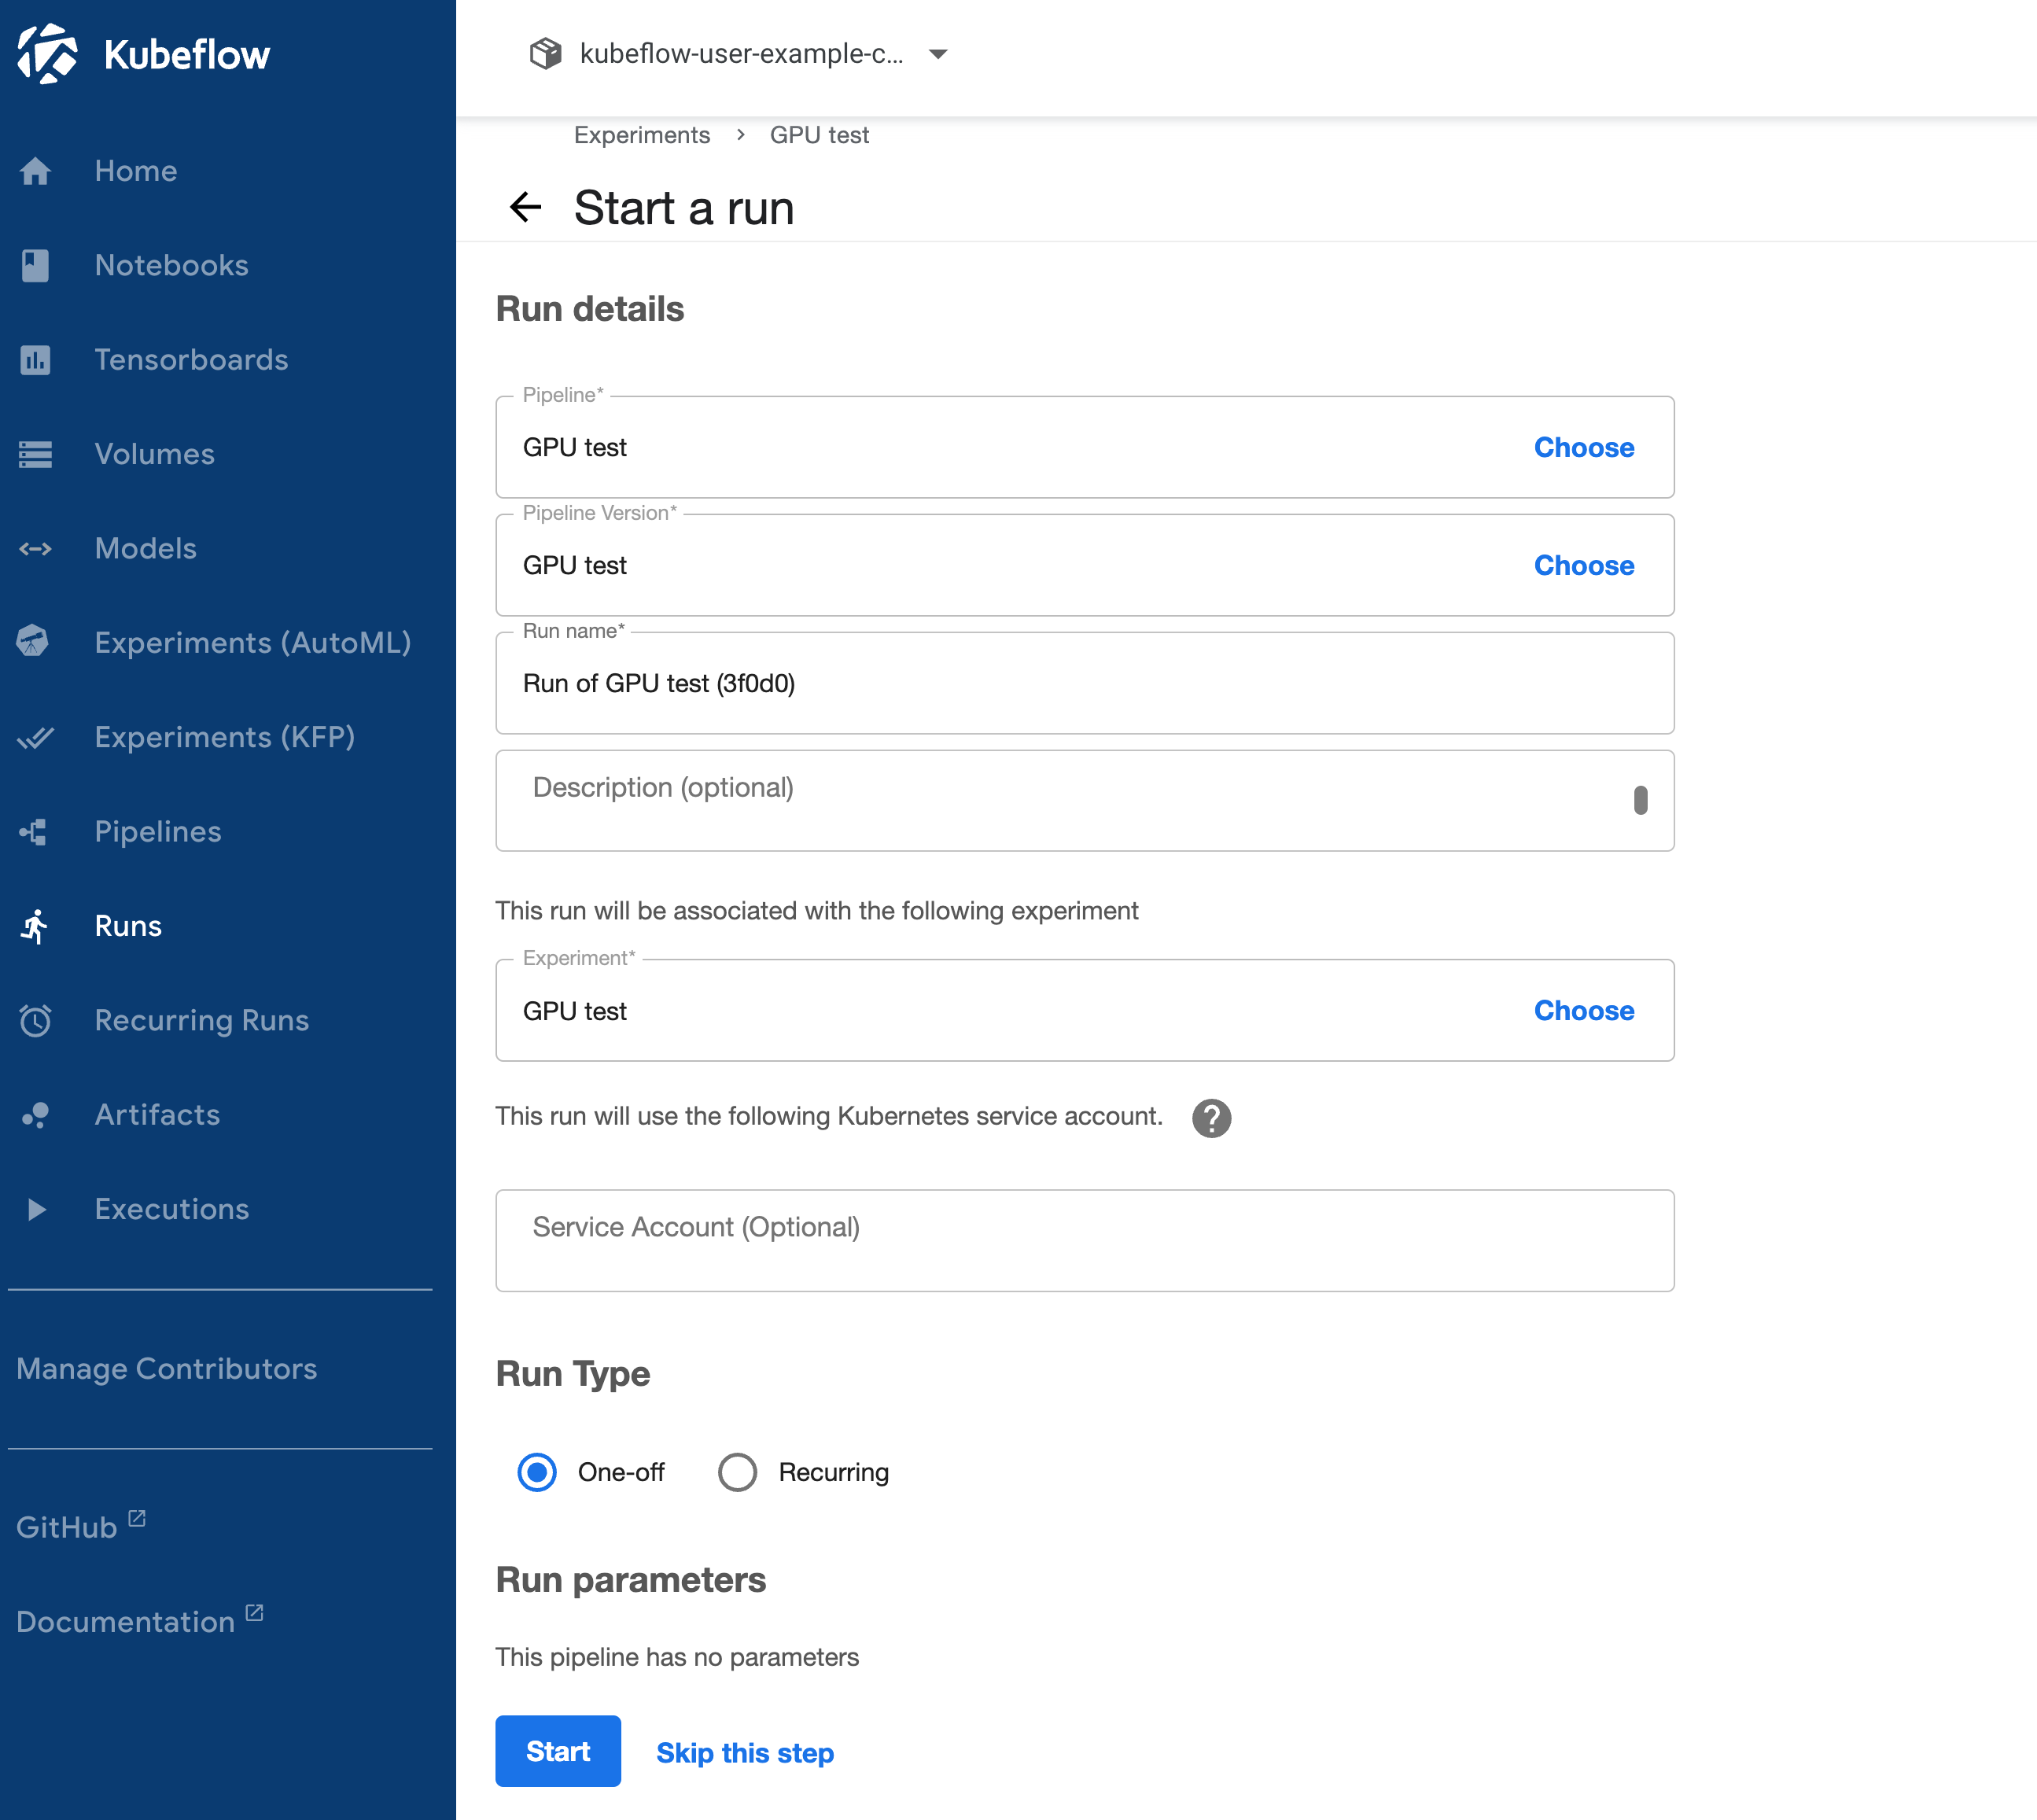
This will take us to the Create run dialog with everything filled in, so we can just click Start.
Then if we click on our run and select our vectoradd step and open the logs we should see output similar to what we saw with docker run earlier.
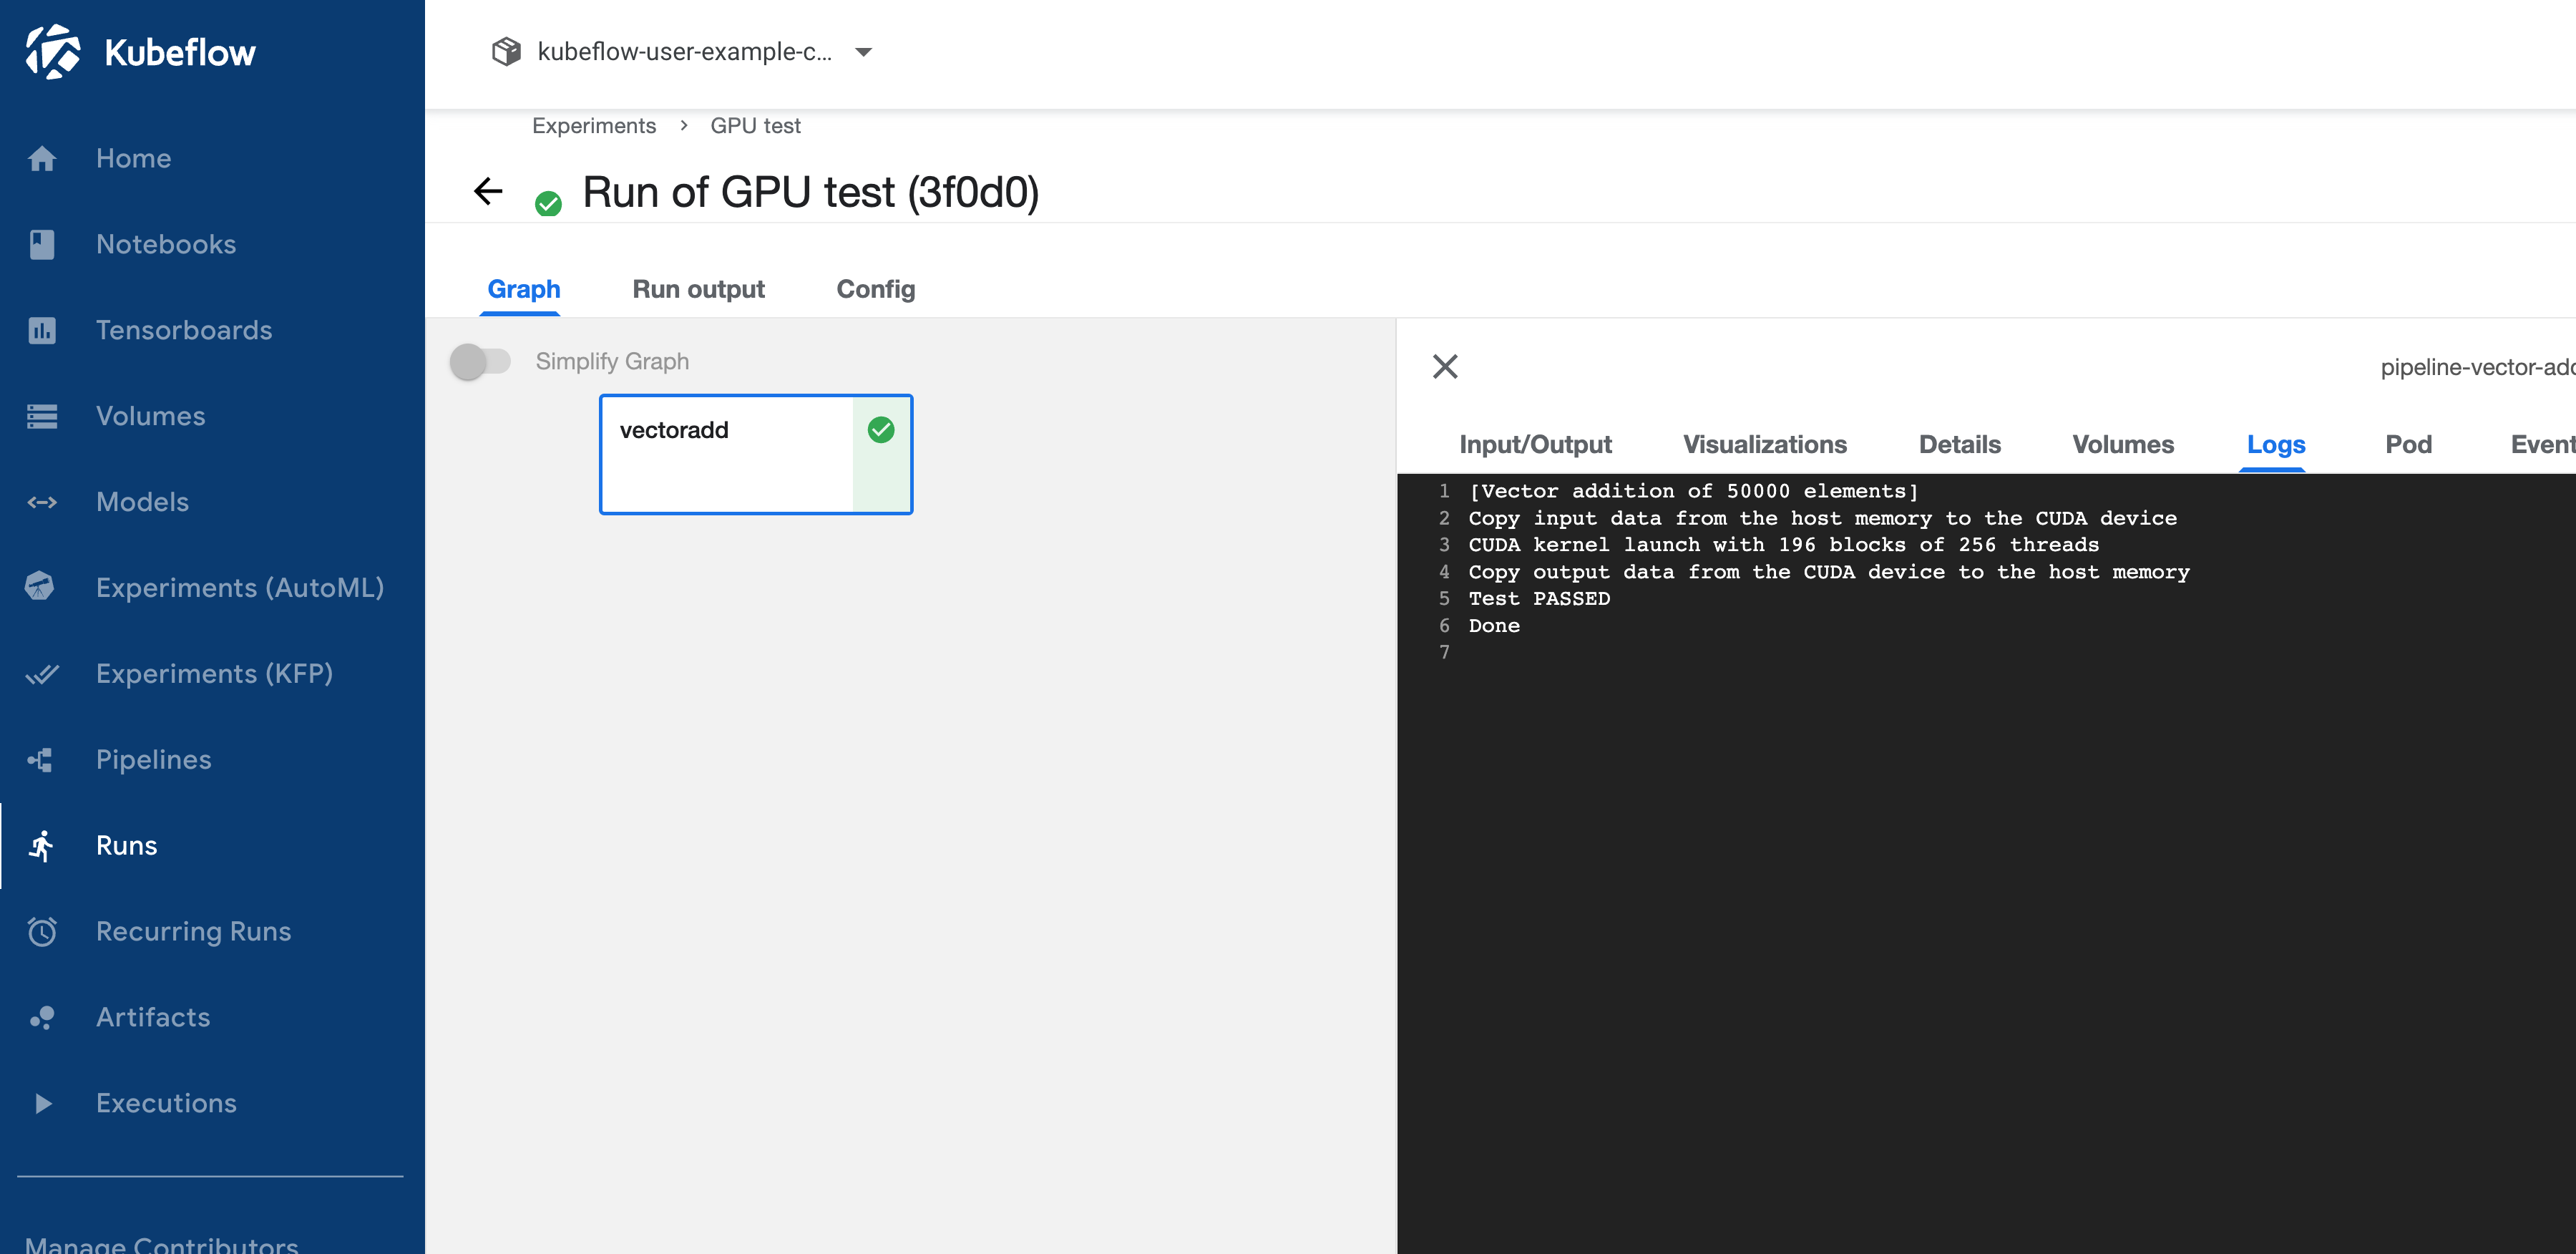
It all works!
Wrap up
We now have a fully functional instance of Kubeflow running in a single Docker container on our linux machine with access to GPUs thanks to kind.
We can also use kind to quickly list our available Kubernetes clusters.
$ kind get clusters
kubeflow-gpu
If we want to delete our cluster and create another we can do so very quickly. We can install extra Kubeflow plugins, experiment with developmental versions of operators or whatever we like without worrying about breaking our cluster.